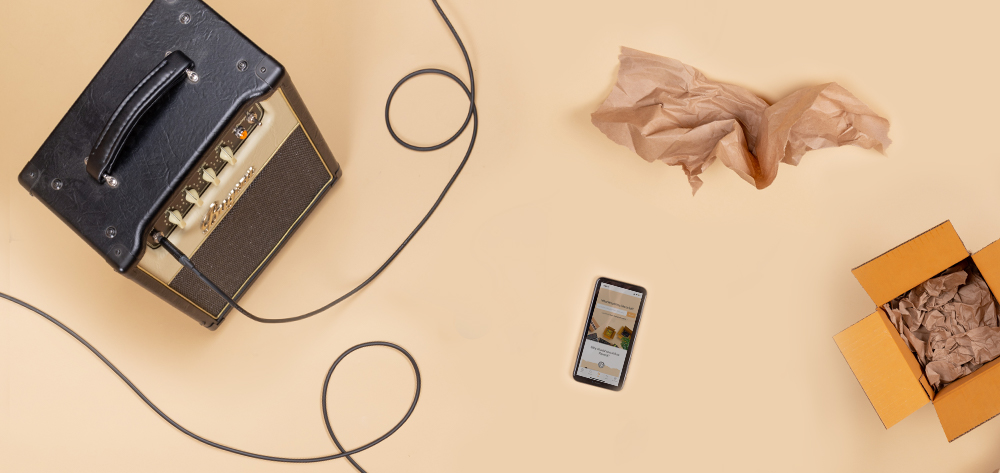
Shipping an amplifier might seem daunting, but we're here to show you that it doesn't have to be.
Watch the video below and follow along with the steps to learn how to securely and safely pack and ship your amplifier to its brand-new home.
What You'll Need
- Strong packing material such as foam pads, along with bubble wrap, packing paper, and cardboard
- Foam corner protectors
- A brand-new or like-new box that is 3" larger than your amp on all sides. (And you may want an additional, smaller box for tubes.)
- A large plastic bag or sheet of plastic
- Packing tape (sometimes called packaging tape)
This first step is, in fact, a little subjective. If you're shipping a vintage amp, or if the tube sockets of the amp are at all loose, you'll want to remove the tubes from the amplifier. If the amp is new or relatively new and the tubes are secure, you likely don't need to remove them.
In most cases, tubes are located in the back of your amp. Unscrew any back covers so you can access the tubes.
When removing them, gently work each tube in a circular motion. Tubes are fragile, so be sure not to force them out. Once you've pulled them out, label them (in order) and wrap them in bubble wrap or other packing material.
The larger tubes can be wrapped individually, but for smaller tubes, you can wrap a few side by side. Once they're ready, place them in their own box that you'll eventually pack into the larger box with the amp. Tape it up and write "Tubes" on the outside of the box to make sure they're not discarded when the new owner opens the package.
Make sure to add foam corners or other extra corner protection to all sides of the amp.
Wrap the power cable (and, if your amp has one, the footswitch cable) with a rubber band so the cable doesn't whip around in transit and potentially puncture the speaker. Wrap the power cord (and footswitch) in packing paper or bubble wrap. Use a piece of cardboard to keep the item(s) snug and separated from the speaker and tube sockets. Fill the cavity with packing paper to make sure everything stays put during transit.
Especially if you're using styrofoam or packing peanuts as your packing material, wrap the amplifier in a bag or a sheet of plastic to prevent the packaging material from filling into the open cavity.
Especially if you're using styrofoam or packing peanuts as your packing material, wrap the amplifier in a bag or a sheet of plastic to prevent the packaging material from filling into the open cavity.
Start by filling the bottom of the box with foam pads, sheets, or other heavy packing material.
Do not put the amp directly onto the floor of the box. You want 3" of packing material on all sides of the amp—including the bottom. This is going to keep the box sturdy, absorb any heavy hits, and prevent the amp from moving around too much in transit.
Once you've placed the amp in the box—right in the middle of the surrounding cardboard walls—fill the spaces between the amp and the box. Be sure to include your small box of wrapped tubes as well.
Fill all the available space in the box so that nothing can move around!
Once you've placed the amp in the box—right in the middle of the surrounding cardboard walls—fill the spaces between the amp and the box. Be sure to include your small box of wrapped tubes as well.
Fill all the available space in the box so that nothing can move around!
Tape the top of the box and all seams generously, using packing tape and packing tape only. (Do not use movers tape, masking tape, or other weaker tapes!)
Give it the old shake test and listen to make sure nothing is moving around. Once that's done you, slap a label on it, and mail it out! (You should be using a crisp, rigid box. But be sure to remove or scratch out any previous labels if you're reusing a used box.)
Learn More About Selling on Reverb

Shipping Corner
Shipping materials, discounted shipping labels, and safe shipping–plus tips from our team of musicians–all in one place.
How to Sell on Reverb
This step-by-step guide walks you through listing an instrument for sale, pricing it, and photographing it so that you get more money for your gear.
Reverb Shipping Labels
Don’t let trips to the post office eat up your day and your wallet: Become your own shipping center and print shipping labels right at home.
