Note: Nesting works really well—if and only if it's done properly. If you don't protect each drum correctly, you will damage them. That means making sure that absolutely no wood or metal is resting against other wood or metal, removing and packing all hardware separately, and using plenty of packing material.
You'll line the inside and outside of the kick with cardboard and fill it with foam sheets or bubble wrap to prevent the tom from shifting inside the kick drum. The kick drum is kept from shifting inside the box with foam slabs, which also protect the heads. Hardware needs to be wrapped up generously in bubble wrap and taped around and on both ends.
The same basic treatment can be used for individual drums (either another tom or a snare), without another drum inside. Read our play-by-play breakdown below.

To ship drums, you absolutely need a sturdy box that is at least 3" to 5" inches wider than your largest drum's diameter and 4" to 6" inches taller than its depth. You need to account not just for the drums themselves, but hardware, heads, and 3" of padding material on all sides. If the sides of your box bulge once everything is packed, it is not safe to ship.
It can be difficult to find a box of these particular dimensions, so you may have to find a much larger box and cut it down to what you need.
- Lots of cardboard scraps, cut to be as tall as each drum
- Foam sheets or bubble wrap
- Thick brown packaging paper (do not use newspaper)
- Packing tape (do not use masking tape, movers tape, or other weaker tapes)
- Foam slabs (these are crucial—much better than packing peanuts)
- A tool to remove your bass drum head
- A good utility knife
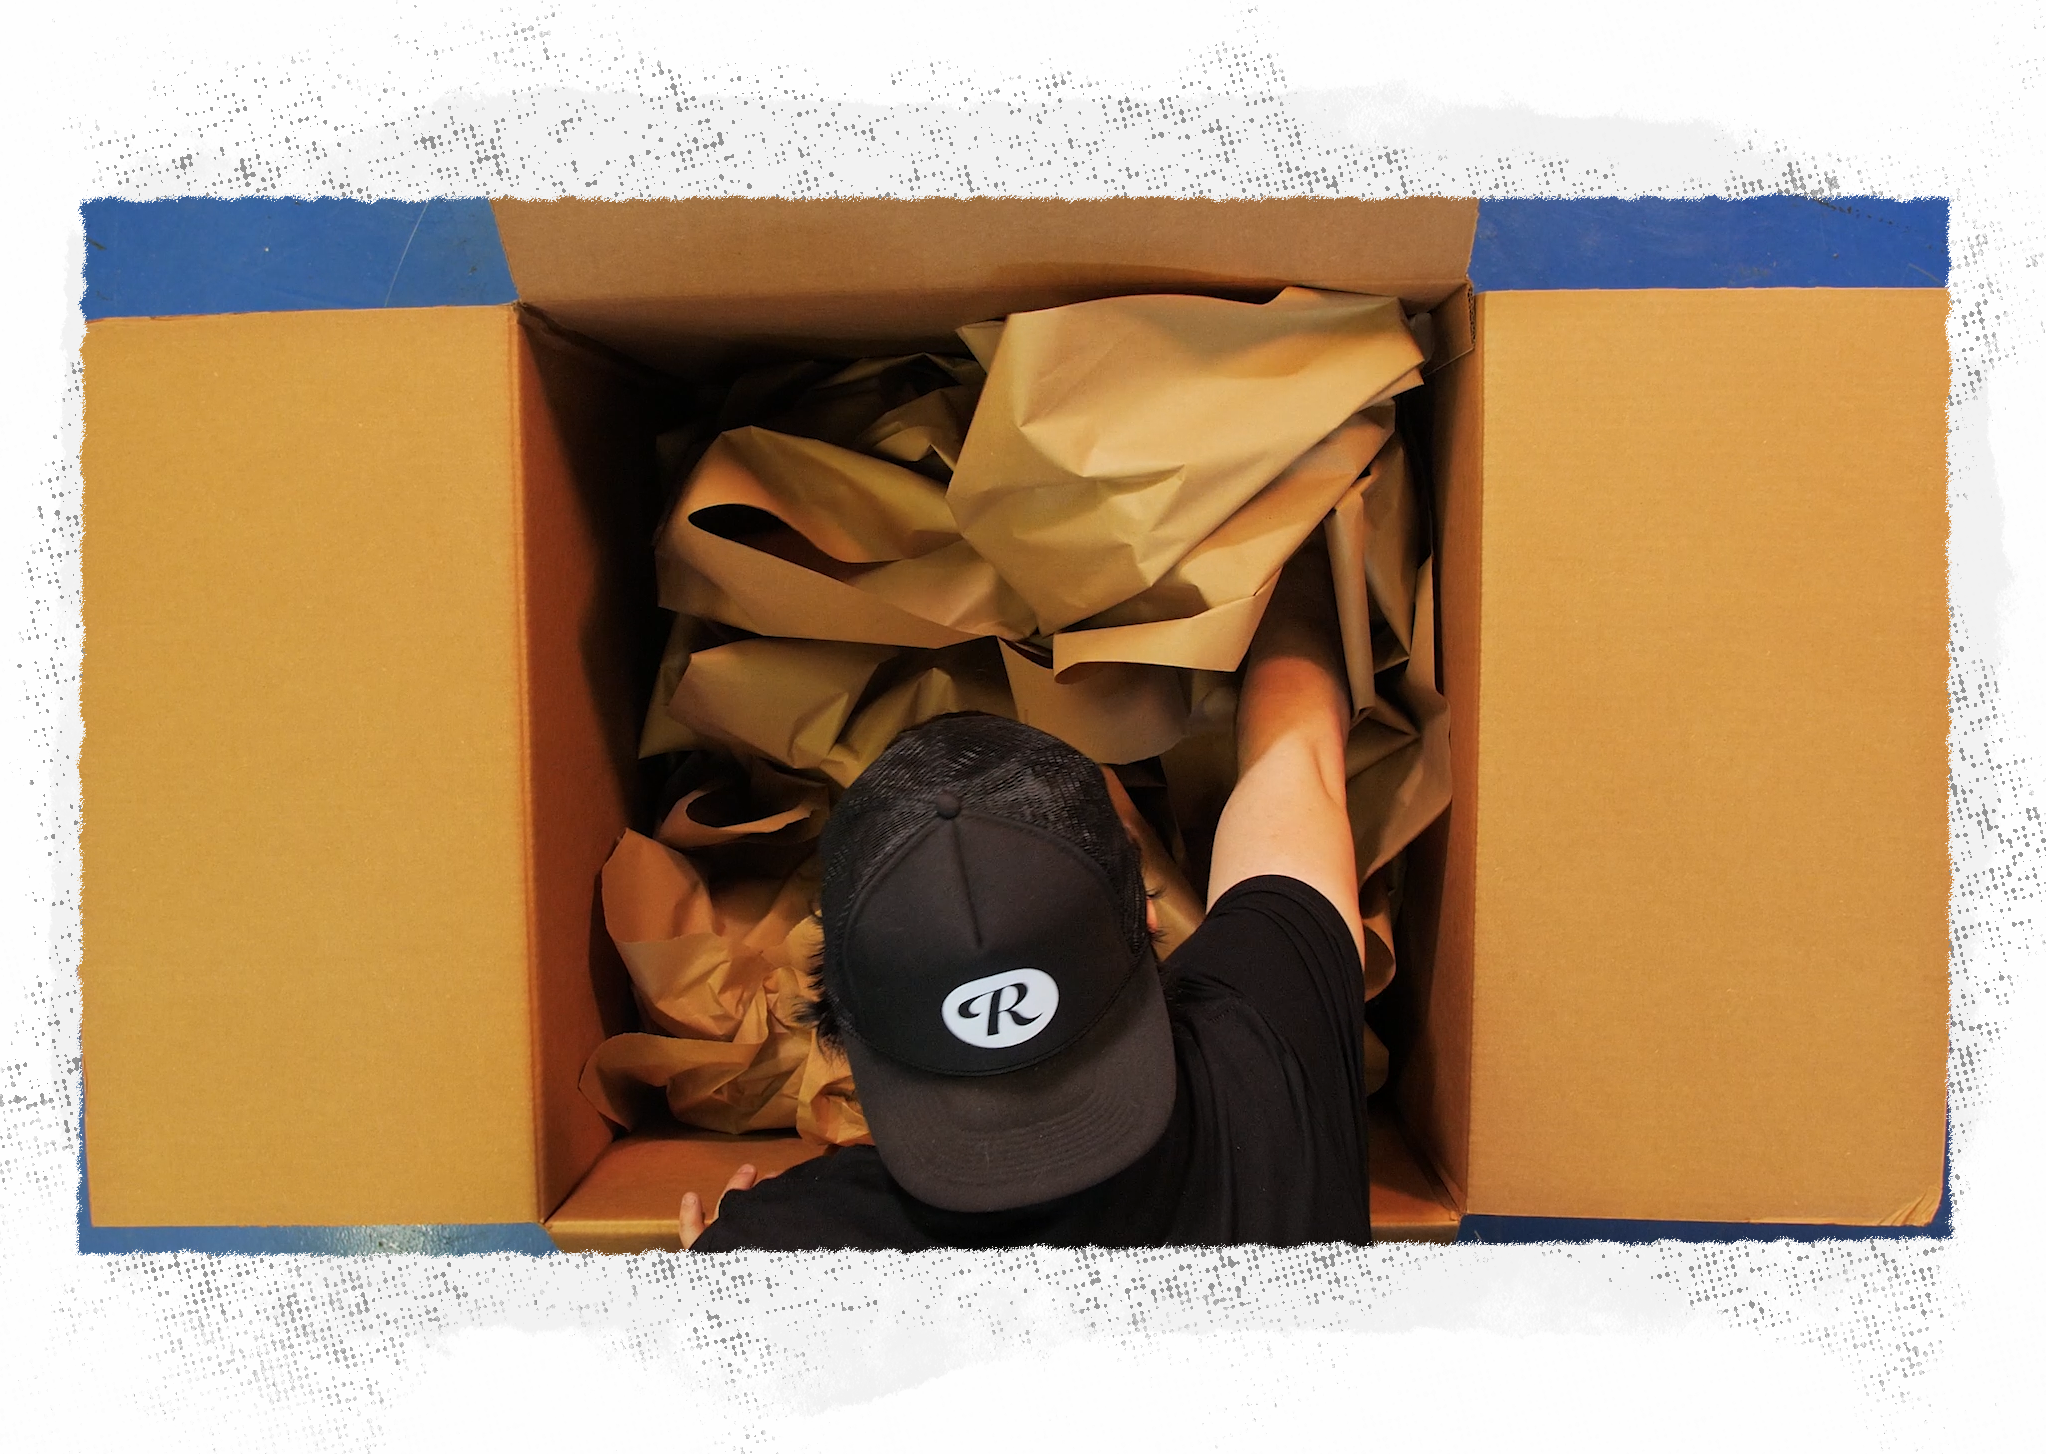
You're going to be putting quite a bit of weight into this cardboard box, so you want to reinforce it everywhere you can. Line the bottom with additional pieces of cardboard, which will help keep it sturdy and prevent piercing if the box is set down on an uneven surface. Line each side with an additional piece of cardboard too.
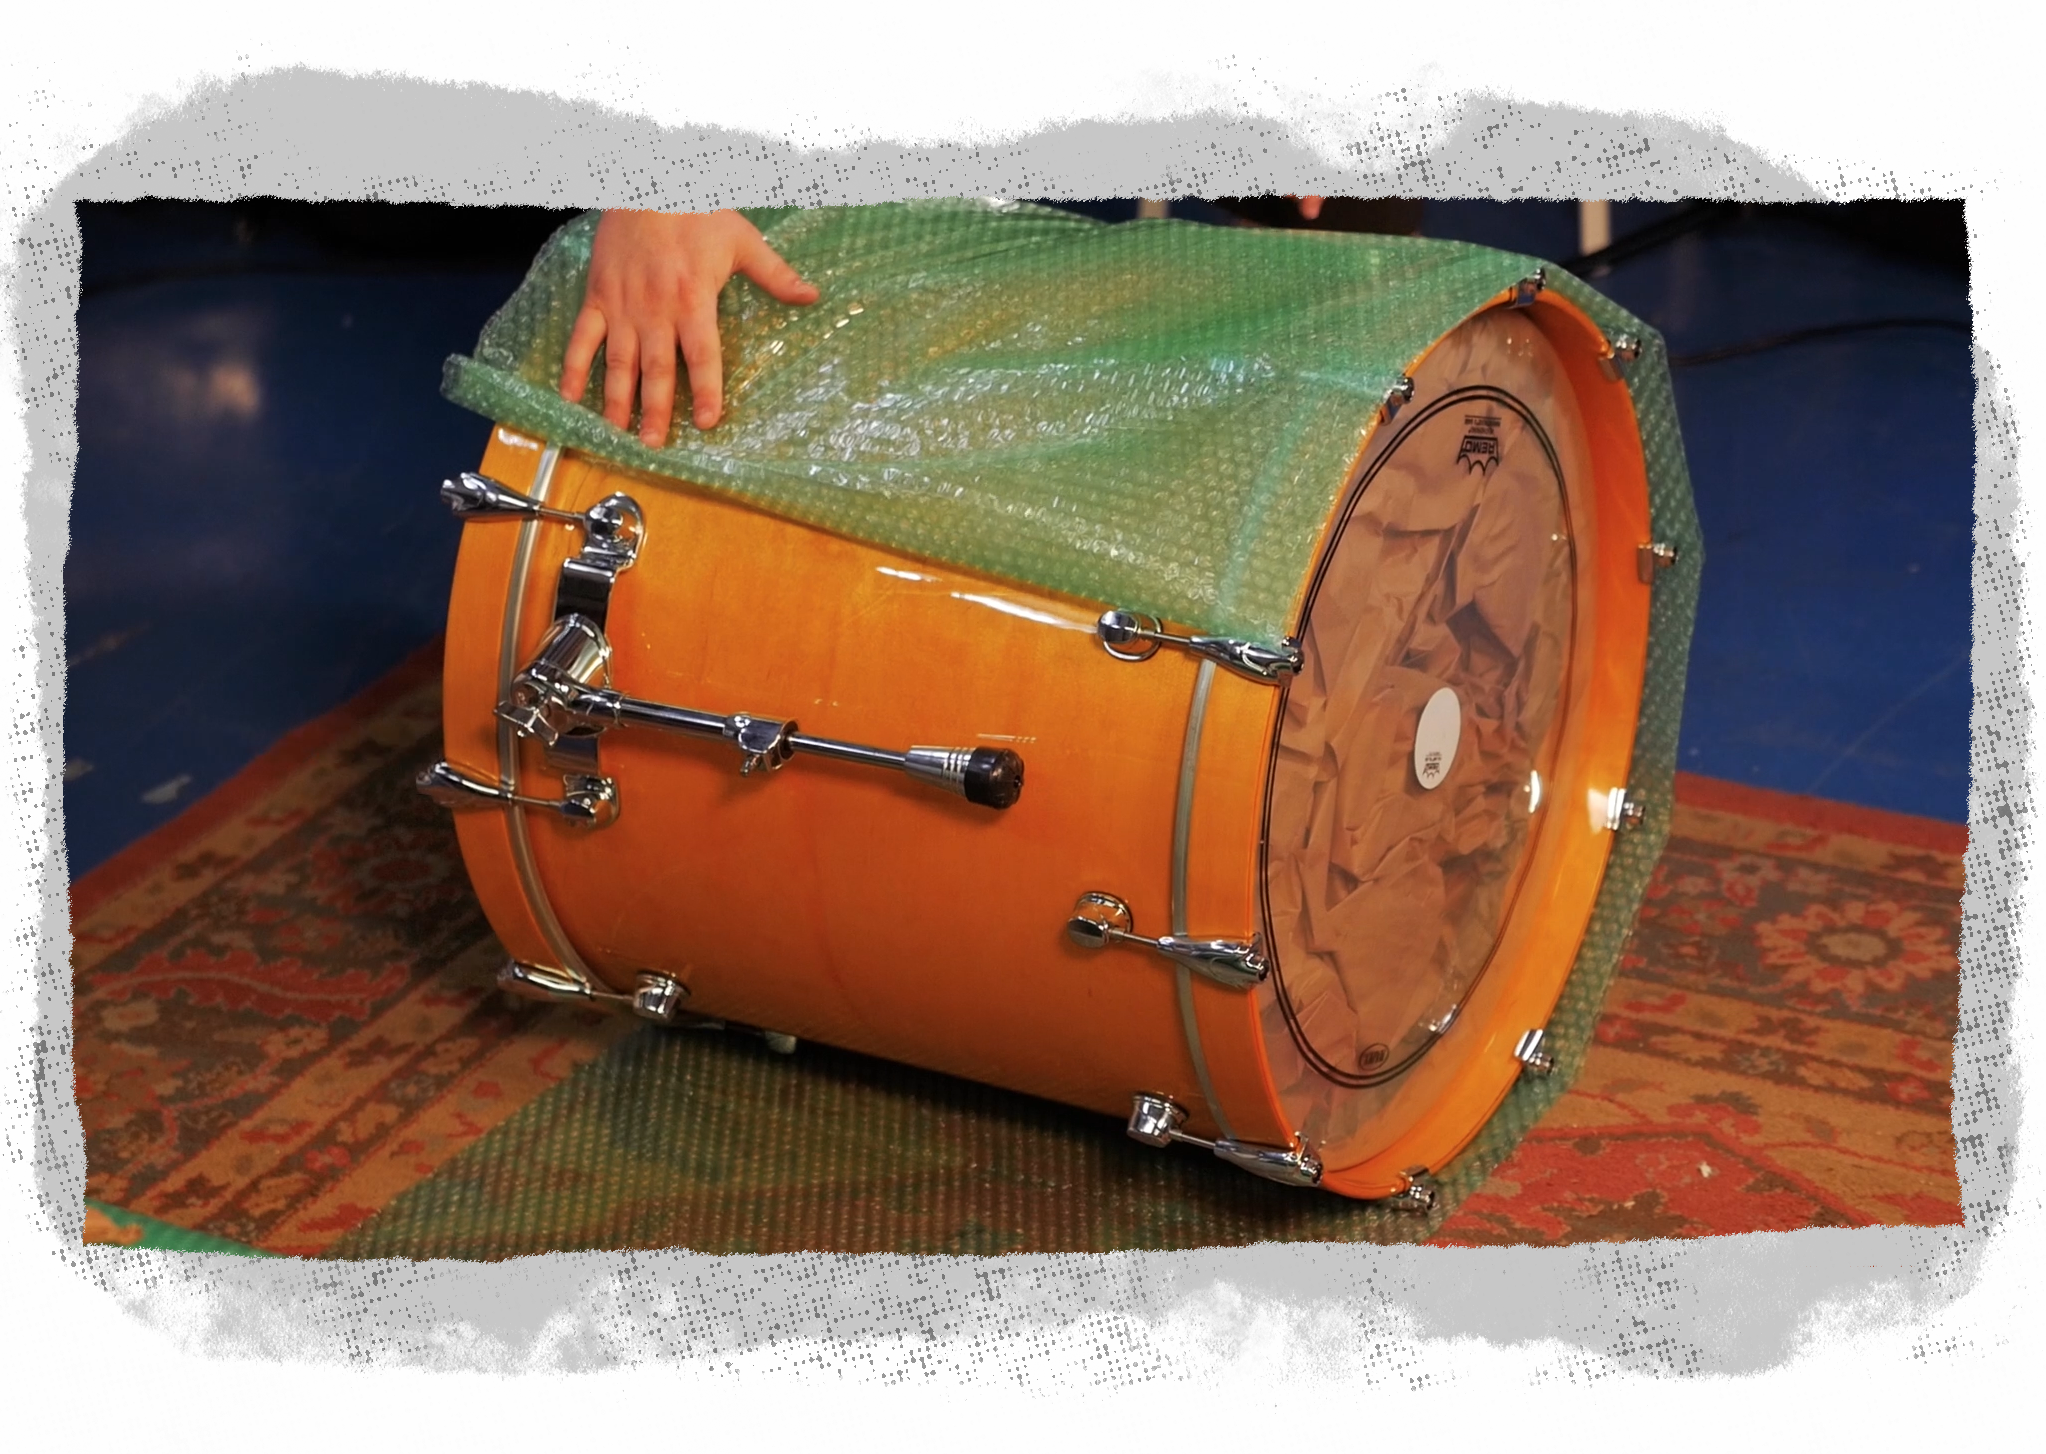
Remove one bass drum head and put it somewhere it won't get damaged. Wrap the bass drum hoop in bubble wrap or foam sheets and fit it back onto the bass drum shell.
Wrap the outside of the kick in packing paper first, then with bubble wrap or foam sheets. Take the cardboard scraps that you've cut to match the kick drum's depth and create a cardboard layer over the other wrapping. Tape it all securely.
Line the inside of the kick drum with more cardboard scraps (again matching the kick drum's depth).
Place the kick drum into your reinforced box. Fill all the available space in the box with foam slabs first on each side and packing paper in between so the kick drum cannot move within the box.
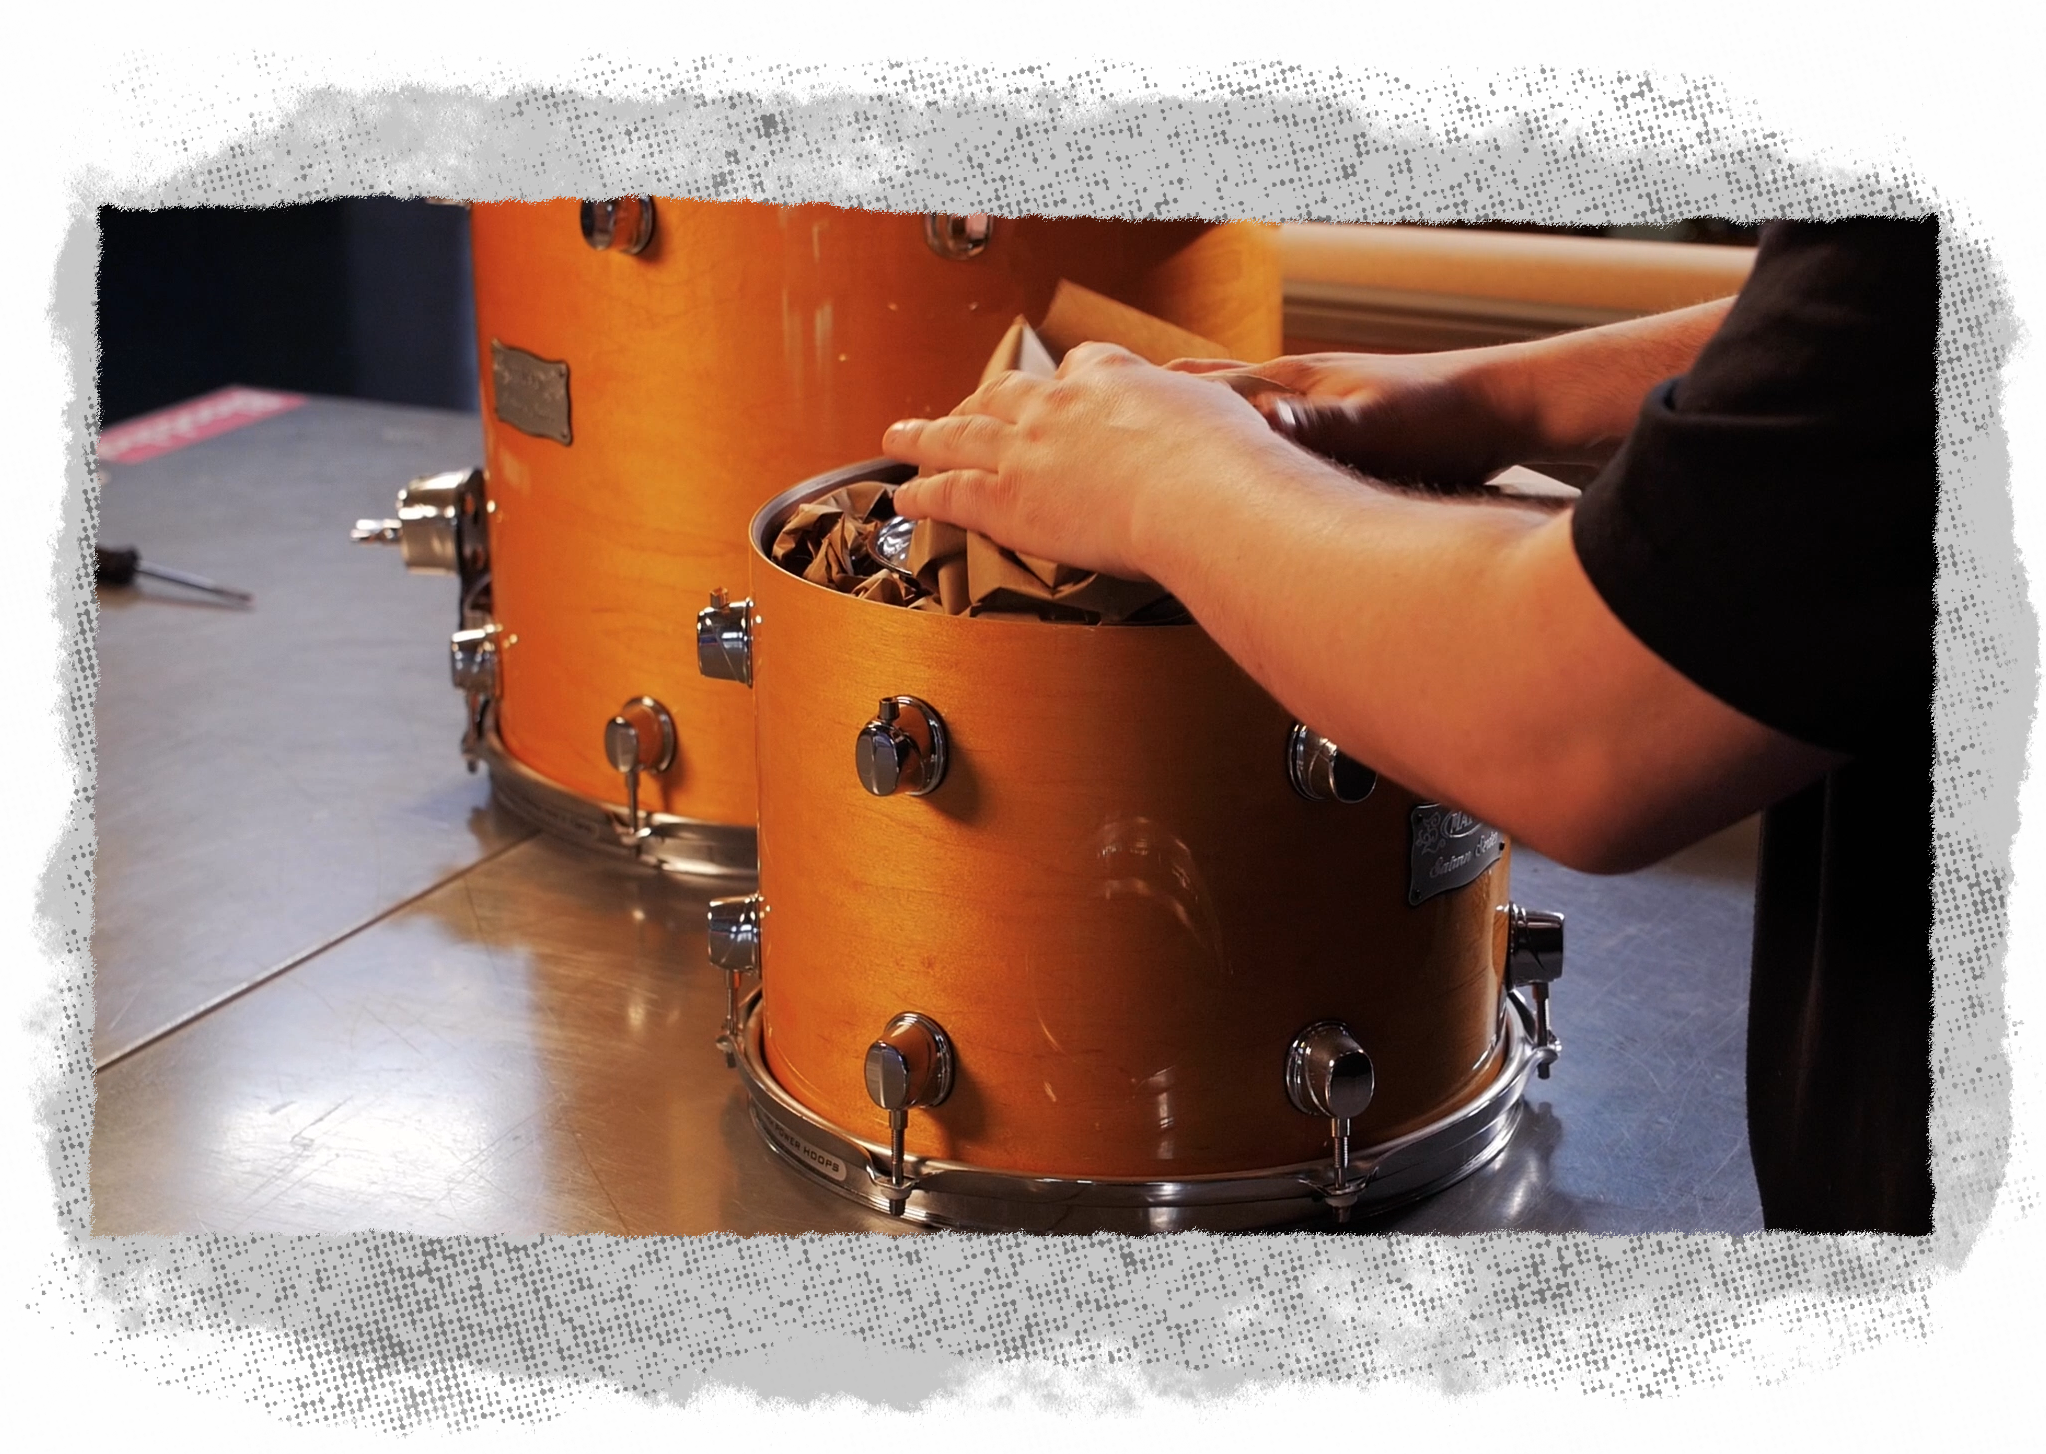
Take the first tom you want to nest and wrap in packing paper first, then with bubble wrap or foam sheets. (If you're going to nest multiple toms, then this should be the larger one.) Tape the wrapping around the drum and on both ends. Line the bottom of the inside of the kick drum with cardboard and bubble wrap/foam sheets to protect the other head.
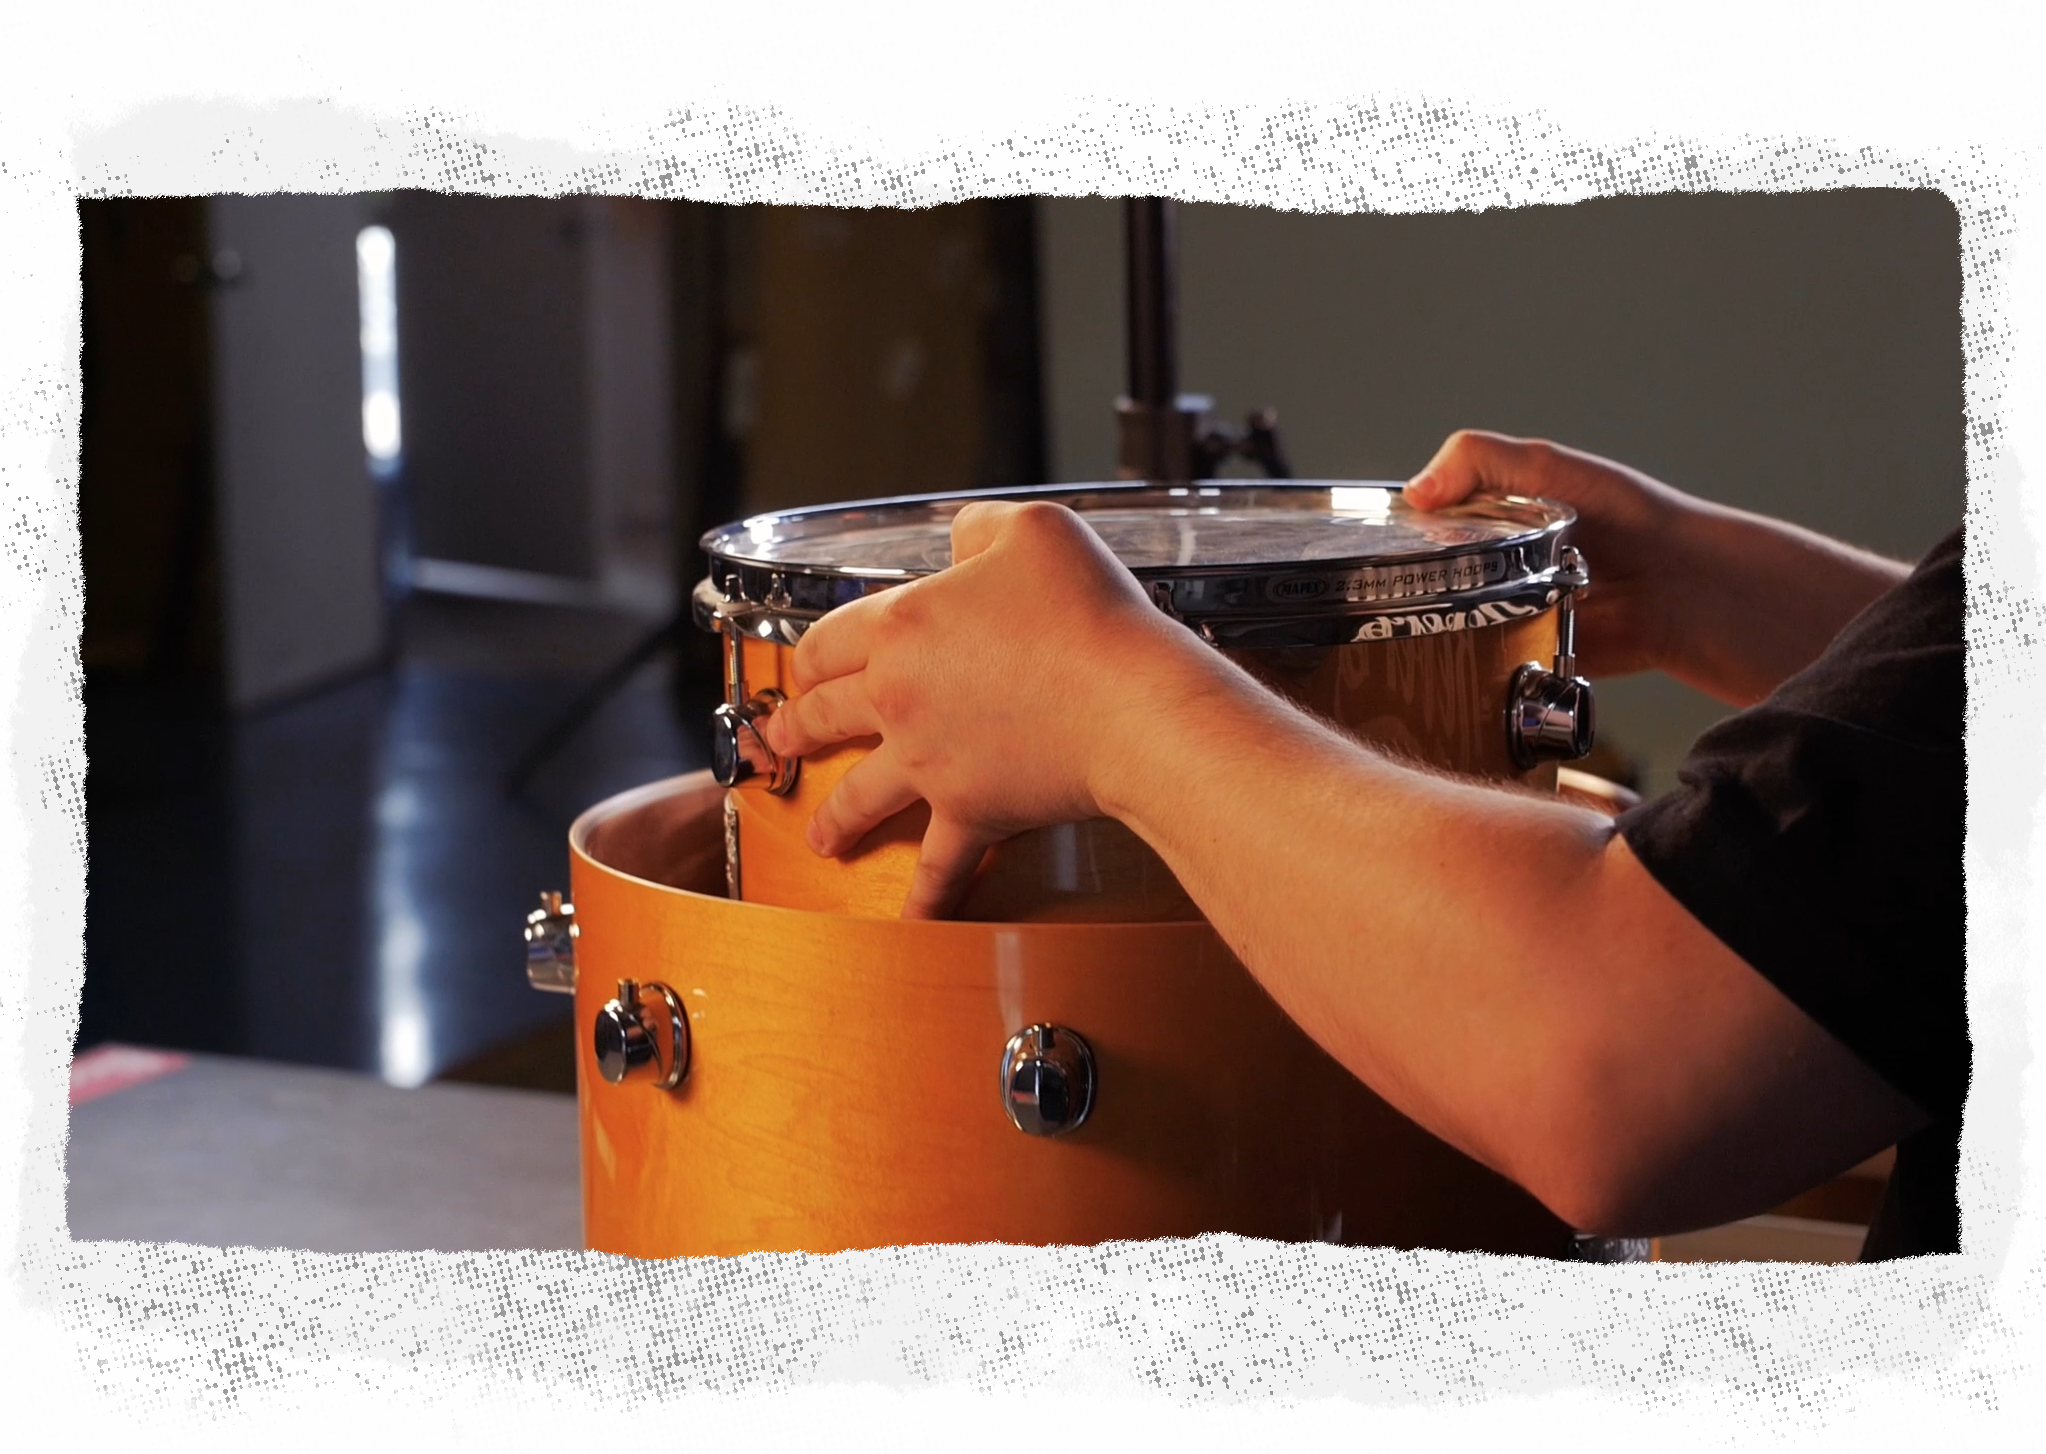
Place the wrapped tom inside the kick drum. Fill the gaps with plenty of heavy paper until the rack tom is firmly secured. Make sure that there is no direct contact at all between the tom and the inside of the kick drum. Place cardboard scraps on top of the tom.
If you are going to nest another smaller tom, repeat the same process for that next tom.
Wrap the floor tom legs, rack tom arm and/or bracket, and any other hardware in bubble wrap and tape all around, including the ends. If this bundle of hardware cannot fit in one of the spaces on the side of the kick drum, use a separate box. Do not pack hardware on top of the kick drum.
Take your spare kick drum head. Put it in a spare head box or create a similar "box" with spare bits of cardboard. Place additional bubble wrap on top of the head, and then place the protected head on top of everything else.

Use more cardboard scraps to create another layer on top of everything you've packed, reinforcing what will be the top of your box with one last layer of cardboard.
If you realize that your box is significantly taller than your tallest drum at this point, make a mark about 2" above the top of the drum on the inside of the box. You can cut the corners to this mark and fold over the sides to change the height of the box. You want it as snug as possible.
Close the box. When taping, tape all sides and be generous with it. Remember, you want the packages to stay shut no matter what. Give it the old shake test and listen to make sure nothing is moving around.

Shipping Corner
Shipping materials, discounted shipping labels, and safe shipping–plus tips from our team of musicians–all in one place.
How to Sell on Reverb
This step-by-step guide walks you through listing an instrument for sale, pricing it, and photographing it so that you get more money for your gear.
Reverb Shipping Labels
Don’t let trips to the post office eat up your day and your wallet: Become your own shipping center and print shipping labels right at home.
