Bigsby systems like the classic Bigsby B3 rank as some of the most recognizable and coveted tremolos found on any guitar. While many assume that a Bigsby install is a major job that requires a professional, the Towner Bigsby System — as shown in the video above — offers a simple and straightforward way to install a Bigsby on your instrument.
Towner Bigsby Systems are also notable for their down tension bar, which gives players the ability to control how much downward tension you want over your strings, controlling string tension and setup.
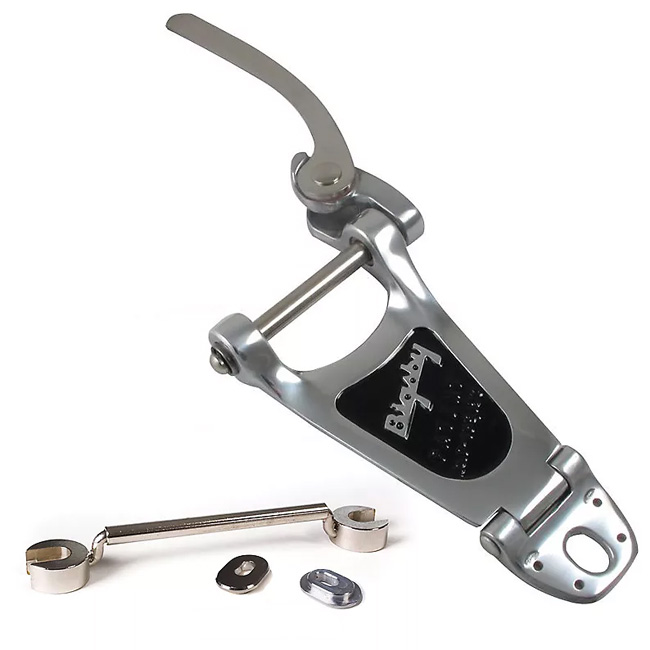
Bigsby B3 Kit with Towner Down Tension Bar
Towner Systems can be used with any symmetrical guitar that has a stop tailpiece, like Gibson SGs, Les Pauls, and ES semi–hollows. Even if you don't have a Gibson model, you can still install a Towner System on your guitar by replacing the metric stop tailpiece studs, which you can also get from Towner.
We recently had the chance to try one of these Towner systems out for oursevles and wanted to offer this quick tutorial for anyone looking for an easy means of achieving the Bigsby dream.
Installing the Bigsby
Step 1: Loosen and remove the strings
Step 2: Unscrew the strap button
Step 3: Arrange the parts from your Bigsby and Towner kit
Step 4: Add four felt pads to the bottom of the Bigsby hinge plate
Step 5: Remove Bigsby factory felt pad and re–attach it higher up
Step 6: Place the Bigsby on your guitar and put the hinge plate adapter under your strap button
Step 7: Re–attach the strap button
Installing the Down Tension System
Step 7: Assemble the down tension bar
Step 8: Unscrew the tailpiece bolts
Step 9: Attach them to the down tension bar with washers between the screws and guitar
Step 10: Attach the down tension bar to the guitar
Bringing It All Together
Step 11: On the Bigsby itself, place the plastic washer
Step 12: String your Bisgby by running the strings under the down tension bar
Step 13: Loop the string over the top of the Bigsby pin roll and hook it to the corresponding pin
Step 14: Restring and tighten