
iZotope Ozone 8 Standard
New Price€159.31
Instant Download
This gear has sold
See similar gear from other Reverb sellers
Listed:over a month ago
Views:1,367
Saves:11
Offers:3

Chicago, IL, United States
Our users rate Reverb
The future of mastering.
What it is:
An industry-leading mastering suite.
How we use it:
Master audio meticulously and efficiently.
Why it's cool:
Ozone 8's Mastering Assistant eliminates a lot of legwork, allowing you to focus on providing your sonic signature. As the industry’s most comprehensive mastering suite, Ozone 8 adds to its legacy by introducing new intelligent signal processing, in-app track referencing, Low-Latency IRC, Stereo Independence and more. Master your audio with over fifteen years of audio industry firsts at your fingertips. Enhanced to meet demands of the modern mastering workflow, Ozone 8 is your one stop for a competitive, professional master and twelve essential mastering processors. It’s the smartest version of Ozone yet.
Assistance with control
Compatibility
Installation Instructions
General Instructions:
What it is:
An industry-leading mastering suite.
How we use it:
Master audio meticulously and efficiently.
Why it's cool:
Ozone 8's Mastering Assistant eliminates a lot of legwork, allowing you to focus on providing your sonic signature. As the industry’s most comprehensive mastering suite, Ozone 8 adds to its legacy by introducing new intelligent signal processing, in-app track referencing, Low-Latency IRC, Stereo Independence and more. Master your audio with over fifteen years of audio industry firsts at your fingertips. Enhanced to meet demands of the modern mastering workflow, Ozone 8 is your one stop for a competitive, professional master and twelve essential mastering processors. It’s the smartest version of Ozone yet.
Assistance with control
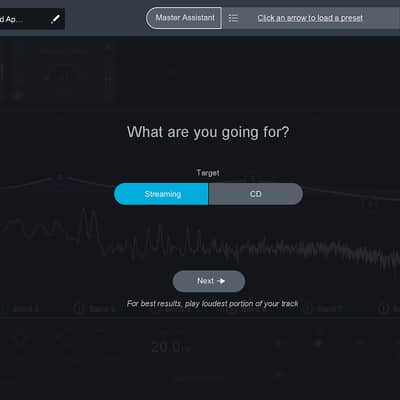
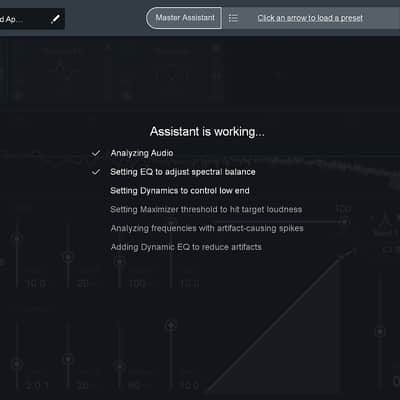
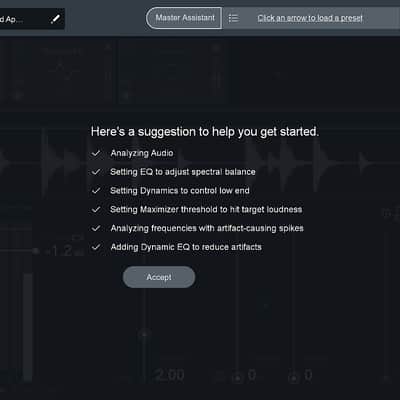
- Master Assistant uses the sonic profile of your audio to help you get to a logical starting point. Because your time is better spent adding your sonic signature, Master Assistant will suggest targets, signal chain, and processor settings, so you can get back to what’s most important—adding that personal touch.
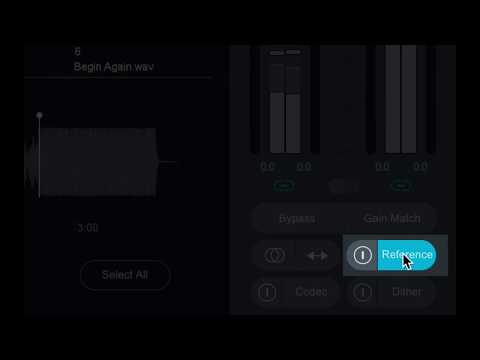
- A/B your master against reference tracks directly within any instance of Ozone or its standalone application. Now an integrated process, track referencing is easy, intelligent, and incorporated into Ozone’s workflow. Track referencing in Ozone allows you to load up to 10 tracks and will identify sections of your reference for easy playback like Verse or Chorus, so you can spend less time finding and more time mastering.
- Create a custom preset with Master Assistant and get your audio to an optimal starting point
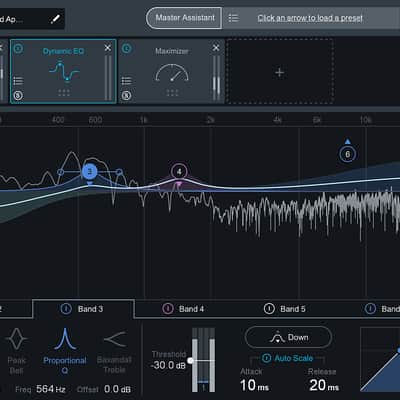
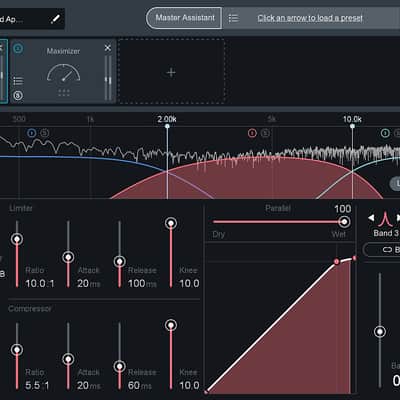
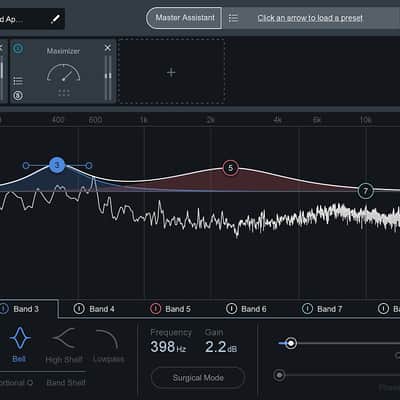
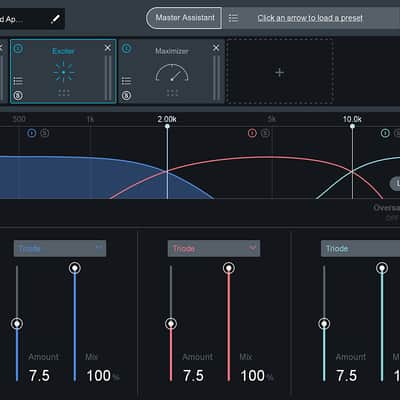
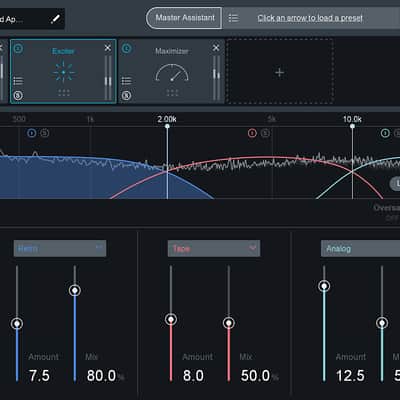
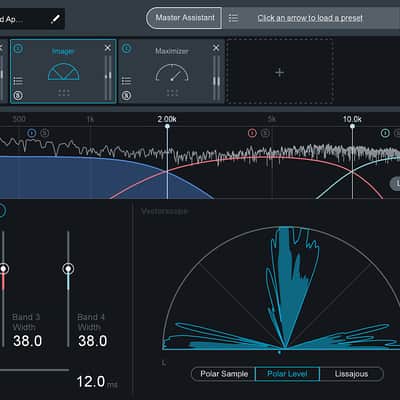
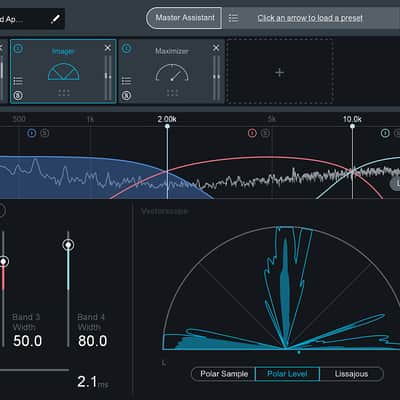
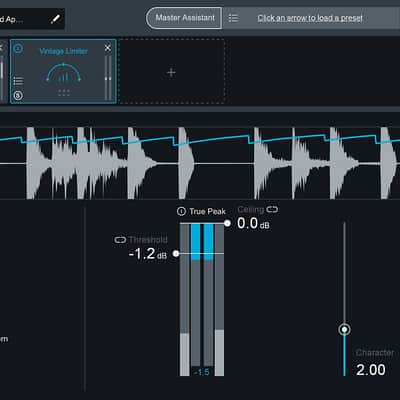
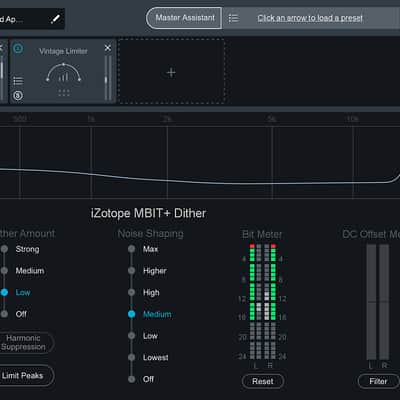
- Create a loud, full master with more than ten multiband mastering processors: Imager, Maximizer, EQ, Dynamic EQ, Dynamics, Exciter, and Vintage Limiter
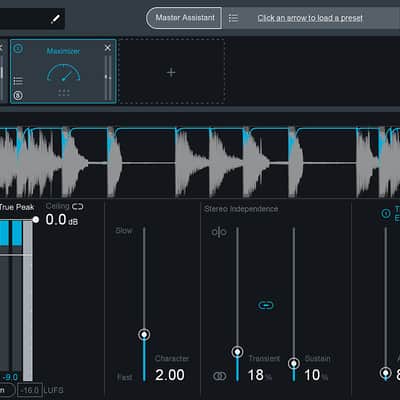
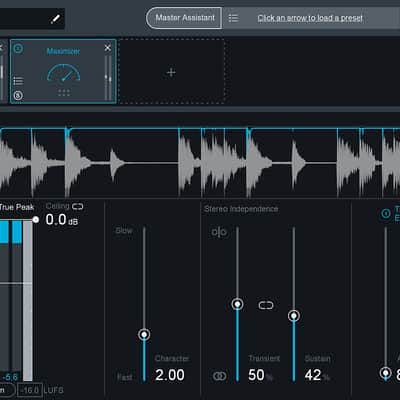
- Have deeper control in Ozone’s Maximizer with new low latency IRC mode, Transient/Sustain Stereo Independence, and Learn Threshold.
- Apply any saturation mode (Warm, Retro, Tape, Tube, Triode or Dual Triode) to any individual frequency band in the Exciter.
- Reference tracks and A/B directly within the Ozone workflow, never needing to leave the app
- Work within your preferred host as a single plug-in, or use Ozone’s standalone application
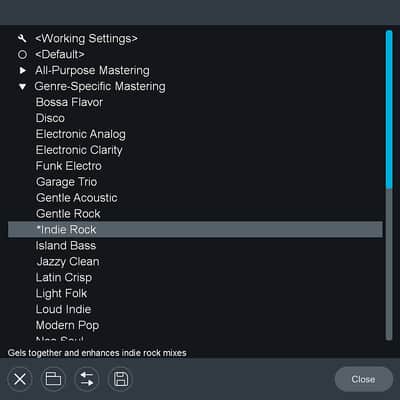
- Professionally designed presets for genre, delivery formats, and more
- Redesigned user interface for an even better mastering experience
Compatibility
Operating Systems:
- Mac: OS X 10.8.5 (Pro Tools 10 only), OS X 10.9 - macOS Sierra (10.12)
- Windows: 7, 8 & 10
Plug-in Formats:
- VST2, VST3, AudioUnit (Mac Only), AAX (Real-time & AudioSuite; 64-bit only), RTAS (Real-time & Audiosuite (DPM); 32-bit only)
Installation Instructions
General Instructions:
- We auto-detect your computer operating system, so just click the download button above.
- Find the downloaded plugin (it's in your computer's download folder, or wherever you've chosen to save it) and double click the installer.
- A plugin installer window will open. Simply go through the installation process.
- We will also send you an email with a link to re-download in case you need it.
- If Ableton Live is closed, open it and skip to #5.
- If Ableton Live is already open, go to Preferences.
- Go to Files & Folder.
- Click "Rescan plugins".
- Find the plugin in the Ableton plugins folder in the sidebar.
- Drag-and-drop the plugin onto your track at the bottom of the screen.
- Open Logic Pro X. Newly installed plugins should be detected automatically every time Logic is opened.
- If you've downloaded an effect or utility plugin, these can be used on an insert for any track in the mixer.
- Create a software instrument track if you downloaded a virtual instrument plugin.
- Under Default Patch, go to AU Instruments and choose the plugin you just installed.
- Open Pro Tools. Newly installed plugins should be detected automatically every time Pro Tools is opened.
- If you've downloaded an effect or utility plugin, these can be used on an insert for many types of tracks (Audio, Aux, Instrument, Master Fader...)
- If you’ve downloaded a software instrument, create a new Instrument track.
- Navigate to the Mixer and locate the newly created Instrument track.
- Select the desired instrument plugin by clicking on any of the Inserts on the Instrument track.
- Go to the Reverb SYNC Software and plugin Collection.
- Choose your desired plugin.
- Reverb will auto-detect your platform, so simply click the download button.
- Continue the installation process by following the prompt.
- Hover your mouse over the smart control button.
- Click Show Inspector icon.
- Click on plugins and choose your desired plugin.