Drummers have it tough. They have the biggest, bulkiest, and, often, most expensive instruments in the band. They usually take the longest to set up and tear down. And on top of all of that, their instruments are one of the most difficult to properly record.
Nothing is worse than replacing every single one of your drum heads and lugging your kit all the way to the studio, only to walk out later with a dull, lifeless recording. There’s no punch to the kick, the snare is lacking clarity, and the toms sound like cardboard boxes. So what gives?
Maybe it’s the kit or the recording gear or the sound of the live room. But whatever the reason your recording didn't come out quite how you wanted, it doesn’t matter once recording's done—the priority now is figuring out how to fix what you have.
A Brief History of the Drum Samples
It may seem like drum replacement is a modern production technique, but on the contrary, Roger Nichols pioneered the process in 1978 while working with Steely Dan. Nichols was recording the band's seventh album, Gaucho, but was struggling to get the right drum sound for the song “Hey Nineteen."
About the process, Donald Fagen of Steely Dan told Sound on Sound in 2006, "We started using sequencing and stuff out of desperation, really. We were having trouble laying down 'Hey Nineteen.’ We tried it with two different bands and it still didn't work, so one of us said something like, 'It's too bad that we can't get a machine to play the beat we want, with full-frequency drum sounds, and to be able to move the snare drum and kick drum around independently.’

“Roger [Nichols] replied, 'I can do that.' This was back in 1978 or something, so we said, 'You can do that?' To which he said, 'Yes, all I need is $150,000.’ So we gave him the money out of our recording budget, and six weeks later, he came in with this machine and that is how it all started."
Years later, drum replacement has become a common practice in music production, although we’ve come a long way from the original Wendel drum machine.
The technique can be used to enhance a drum recording that lacks clarity by blending in a particularly punchy sample. If a recording becomes unusable, drum samples can even be used to replace the original hits entirely.
Popular Drum Replacement Plugins and Alternatives
Drum replacement plugins all function essentially the same way. They include a large set of pre-recorded kick, snare, and tom samples—not the synthetic 808-style samples found in electronic music, but actual recordings of acoustic drums. These samples can be blended to supplement drums that are lacking in tone.
To trigger a sample, place the plugin as the first insert on the audio track of the originally recorded drum. The audio runs through a detector just like a compressor, but instead of compressing the signal when a transient crosses the threshold, a drum sample is triggered.

A clean transient response is particularly important to the detector, so don’t try to use drum replacement plugins on overhead or room tracks. (Close mic’d tracks can be used to trigger samples for overhead and room mics as well.)
Next, turn the threshold knob down low enough for the detector to recognize the quietest drum hit. Just make sure it’s not so low that it includes unwanted drum hits that may have bled through the mic, otherwise it will misfire a sample.
Finally, use the level, pan, and mix controls to blend one or more samples with the original mic to taste.
Here are a few of the most popular drum replacement plugins:
- Massey DRT
- SPL DrumXChanger
- Toontrack Superior Drummer 3: Tracker
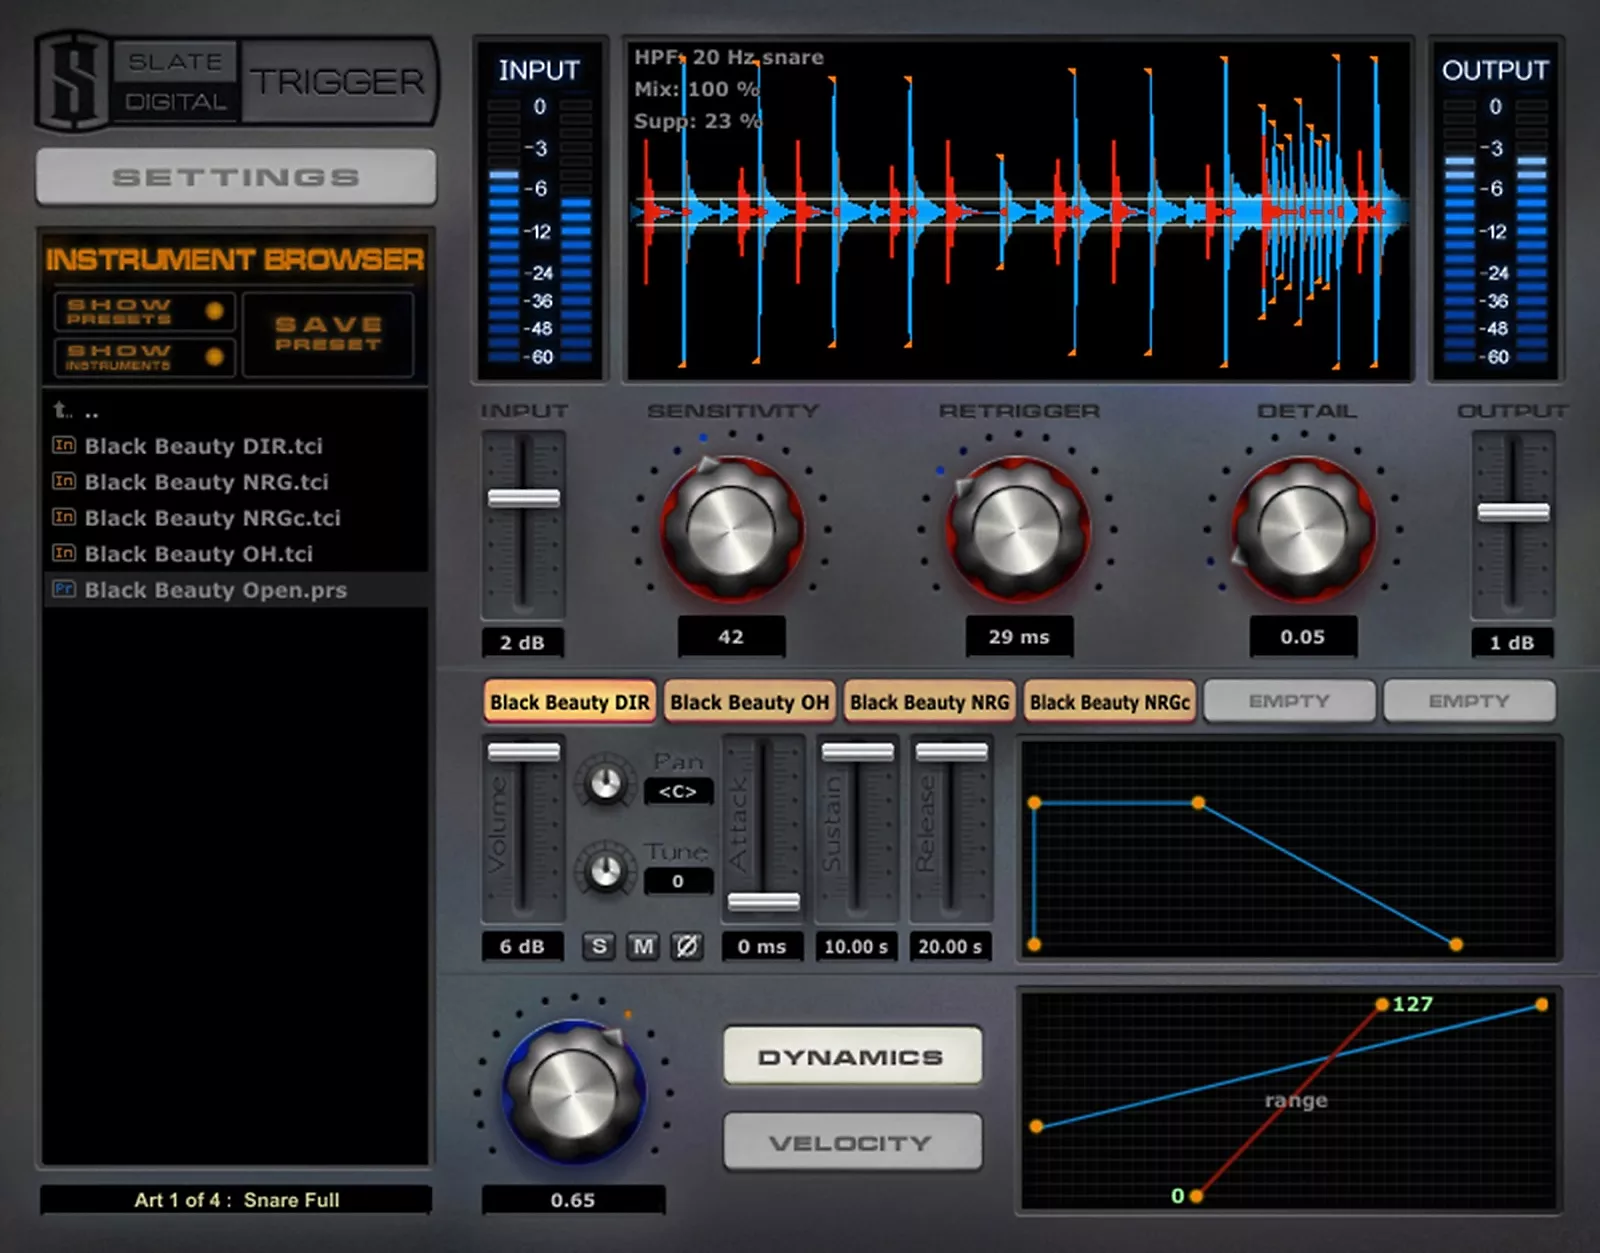
- Steven Slate Drums Trigger
- XLN Audio Addictive Trigger
- Drumagog 5
If you’re not ready to take the plunge and pick up a new plugin just yet, though, you can try drum replacement by using one of the following techniques.
Audio to MIDI: Most DAWs allow you to convert audio to MIDI relatively accurately. After converting, simply use a stock sampler to trigger drum sounds.
“Tab to Transient": Most DAWs also feature some sort of “tab to transient" feature that allows you to place the playhead directly at the start of a transient with the push of a button. Use this feature to paste in audio samples from your personal library.
Drum Triggers: If you know from the beginning that you’re going to sample-replace the drums, you can forgo the traditional mic’ing setup altogether and use drum triggers instead. Drum triggers clip onto drum heads and send a velocity-sensitive, bleed-free transient response via XLR cable—just like a real microphone.
Finding and Tweaking the Right Samples for Your Mix
The problem with drum samples is that they can sound robotic and sterile when used improperly. The first step to getting a good drum tone when using drum samples is to select the right samples.
Listen to your drum tracks and identify what’s lacking from the recording. Does the kick have plenty of boom but no snap? Blend in a snappy kick sample to compensate. Does the snare crack like a whip but lack power in the low-mids? Blend in a snare sample that sounds like a cannon to make up for it.
The key to creating a realistic drum sound with drum samples is to retain the human element whenever possible. That means realistic velocities and not just the same exact snare hit every other beat."
If you find yourself unable to find anything that you like about your original recording, that’s alright too—you can fully replace the audio track with samples. Just remember that you can’t take the sound of the kick, snare, or toms out of the overhead and room mics. Most drum sample packs include overhead and room mic samples for kick, snare, and toms so that you can blend these samples in to supplement your overhead and room recordings, but you can’t actually replace the sounds in those tracks.
In some genres, engineers choose to record cymbals separately (or even program them via MIDI) to make sure the samples don’t clash with the other mics.
After selecting your samples, you’re going to have to tweak them a bit to make them work within your production. First, make sure each of the drum samples is in tune with the drums in the recording—either through your drum replacement software or via a separate tuning plugin.
Next, it’s important to make sure there are no phase issues between the samples and the recordings. Most drum replacement software allows you to invert polarity for each sample, but if you’re doing things by hand, you can either trim the beginning of the sample or nudge the tracks to compensate.
Then, adjust the attack, decay, sustain, and release parameters for each sample to ensure the samples aren’t rushing or dragging the beat. Make sure the sustain of the sample isn’t too short or long for the tempo of the song. The sample should start and stop in line with the BPM.
Finally, one of the best parts about using drum replacement software is that you can easily automate these parameters over time. Bring up the level of a sub-heavy kick sample during the chorus for more impact, increase the velocity of the snare drum during the bridge for extra punch, cut out everything but the room samples during the outro for that “back of the room" feel—you can do it all.
The key to creating a realistic drum sound with drum samples is to retain the human element whenever possible. That means realistic velocities and not just the same exact snare hit every other beat. Don’t be afraid to automate the threshold during quiet parts to capture low-velocity transients like ghost notes, rolls, and any other human nuances you may have captured in the recording.
You can find any number of high-quality drum hits in sample packs offered through Reverb, including these Smack Drum Sample Collections, recorded by multi-platinum producer Marc McClusky at Sound City Studios.


Fitting Your Samples Into the Mix
Finally, one of the biggest problems with using drum samples is the feeling of separation between the samples and the original recordings. Thankfully, there are a few things you can do to prevent this.
First, try adding a little reverb to simulate the sound of the samples and the original recordings being played in a room together. The kind of reverb isn’t important. Room, hall, plate—take your pick. Just make sure that it’s appropriate for the song and that it adds a sense of cohesiveness.
While drum samples can certainly be used as a safety net to bail you out when you’re stuck with a less-than-ideal drum recording, they can also be used to create a sound you couldn’t have captured in the studio, something larger than life."
After getting your drum samples to sit correctly with the original recordings, the last step is to glue them all together. The most common way to do this is to apply bus compression.
Send all of the drums (the original recordings and the samples) to a stereo bus and apply light compression—typically around 1-3dB at a ratio of about 2:1. This helps squeeze the tracks together without drastically affecting the transient response.
While drum samples can certainly be used as a safety net to bail you out when you’re stuck with a less-than-ideal drum recording, they can also be used to create a sound you couldn’t have captured in the studio, something larger than life.
Regardless of your approach, just remember that the key to creating convincing drum tones using samples and acoustic recordings is in the details. Pay attention to the little things, and always make sure the performance retains its human element.