With many music makers still stuck at home, being creative can be a challenge. We all know there are some fantastic companies out there creating stunning sample libraries, but they can be quite expensive. With months of uncertainty ahead, when could be a better time to create your own unique samples?
Creating your own samples is a very rewarding experience. It can be done on a shoestring budget with the most basic of equipment.
All you need is:
- A sound source (in this case, household items)
- A recording medium (phone mic, or interface & microphone)
- A DAW (free options include GarageBand & PreSonus Studio One Prime)
- Audio editing tools (EQ, compressor/gate, noise reduction & restoration)
- A VST sampler (Kontakt, Arturia Pigments, Impact XT, Arcade, many others)
Process of recording
When it comes to sampling objects, don’t be scared to try things. One good way to get the ball rolling is to head into different environments: say, a lounge, kitchen, or bathroom. This way you’ll get a completely different palette of sounds, leading to more creative options. Smartphone microphones are really good now. Many of the samples included in this article were recorded using an iPhone mic, so don’t let gear hold you back.
The best samples are recorded in a quiet environment, as it reduces the amount of audio repair needed while editing. Think of objects in relation to actual musical instruments. Would this make a good kick? Does this have any tonal qualities that could be used for a melodic instrument? And so on.
Playing a sound source with different tools offers many different timbral qualities. Many of the clips below were played two to three times using tools made from different materials:
- Timpani mallets (soft timbral quality, good for low & mid frequencies)
- Orchestral bow (great for sustain and revealing pitches)
- Metal utensils (anything metal will generate more mid to high vibrations)
When recording, ensure that you’re not distorting the microphone input. A good ballpark figure is anywhere between -6 to -10dBFS, as it's much easier to increase gain later on, as opposed to restoring a clipped signal.
Different microphones and mic placement can also impact the tone and character of a recording. If you’ve really got the itch, a modelling microphone such as the Slate Digital VMS ML-2 could be a good way to explore different sonic options in post.
Editing Your Samples
Once you’ve imported your samples into your DAW of choice, it’s time to begin editing. I always begin the editing phase simply by listening to the samples I’ve recorded and making markers on the timeline of good takes.
The sample should play back from the very first transient and then fade out to your desired length. This is to allow for easy playback in samplers later on. The tone-shaping of most sounds can be quite simple, if they’ve been recorded well. Some basic gain-staging, EQ, and compression can go a long way.
Most samples will benefit from a high-pass filter to roll off any unwanted rumble in the low-end. The same goes for filtering out any high frequencies and resonant peaks that might be unpleasant to the ear. Make sure your samples aren’t peaking too close to -0dB, as this will allow for little to no headroom during the creative processing.
At some stage you’re going to run into noise issues. Hiss, hum, crackles, and pops are all pretty common but can be repaired thanks to various software. iZotope RX7 offers the most versatile audio repair assistant for treating and restoring damaged audio. If that's out of your budget, the Waves Z-Noise and WNS offer great value for money. The samples below were all treated using EQ, mild compression, and the Waves noise reduction suite to show that this doesn’t have to cost you the Earth.
Finish by exporting the samples as 24-bit 44.1kHz wav or AIFF files. If you’re wanting to later pitch-shift samples down, exporting at higher sample rates such as 48 and 96kHz can offer better results and avoid unwanted artefacts.
Manipulating in Post
You’ve recorded your sounds, edited and bounced them, and now it's the part we all love: getting creative, and making inspiring sound design and music.
Begin by importing all of your samples into a new session. Then start layering these samples on top of one another. Solo and mute different channels to see how they individually colour the overall sound. Then get a rough overall balance using the faders and panning, and bounce this in session as one whole stem. You can always go back later on and make adjustments to the levels and panning of individual elements.
I like to begin by creating one basic sample for each instrument category. Kick, snare, bass, lead, and sound effects. This gives you coverage for creating most genres of music, and can be manipulated further to taste.
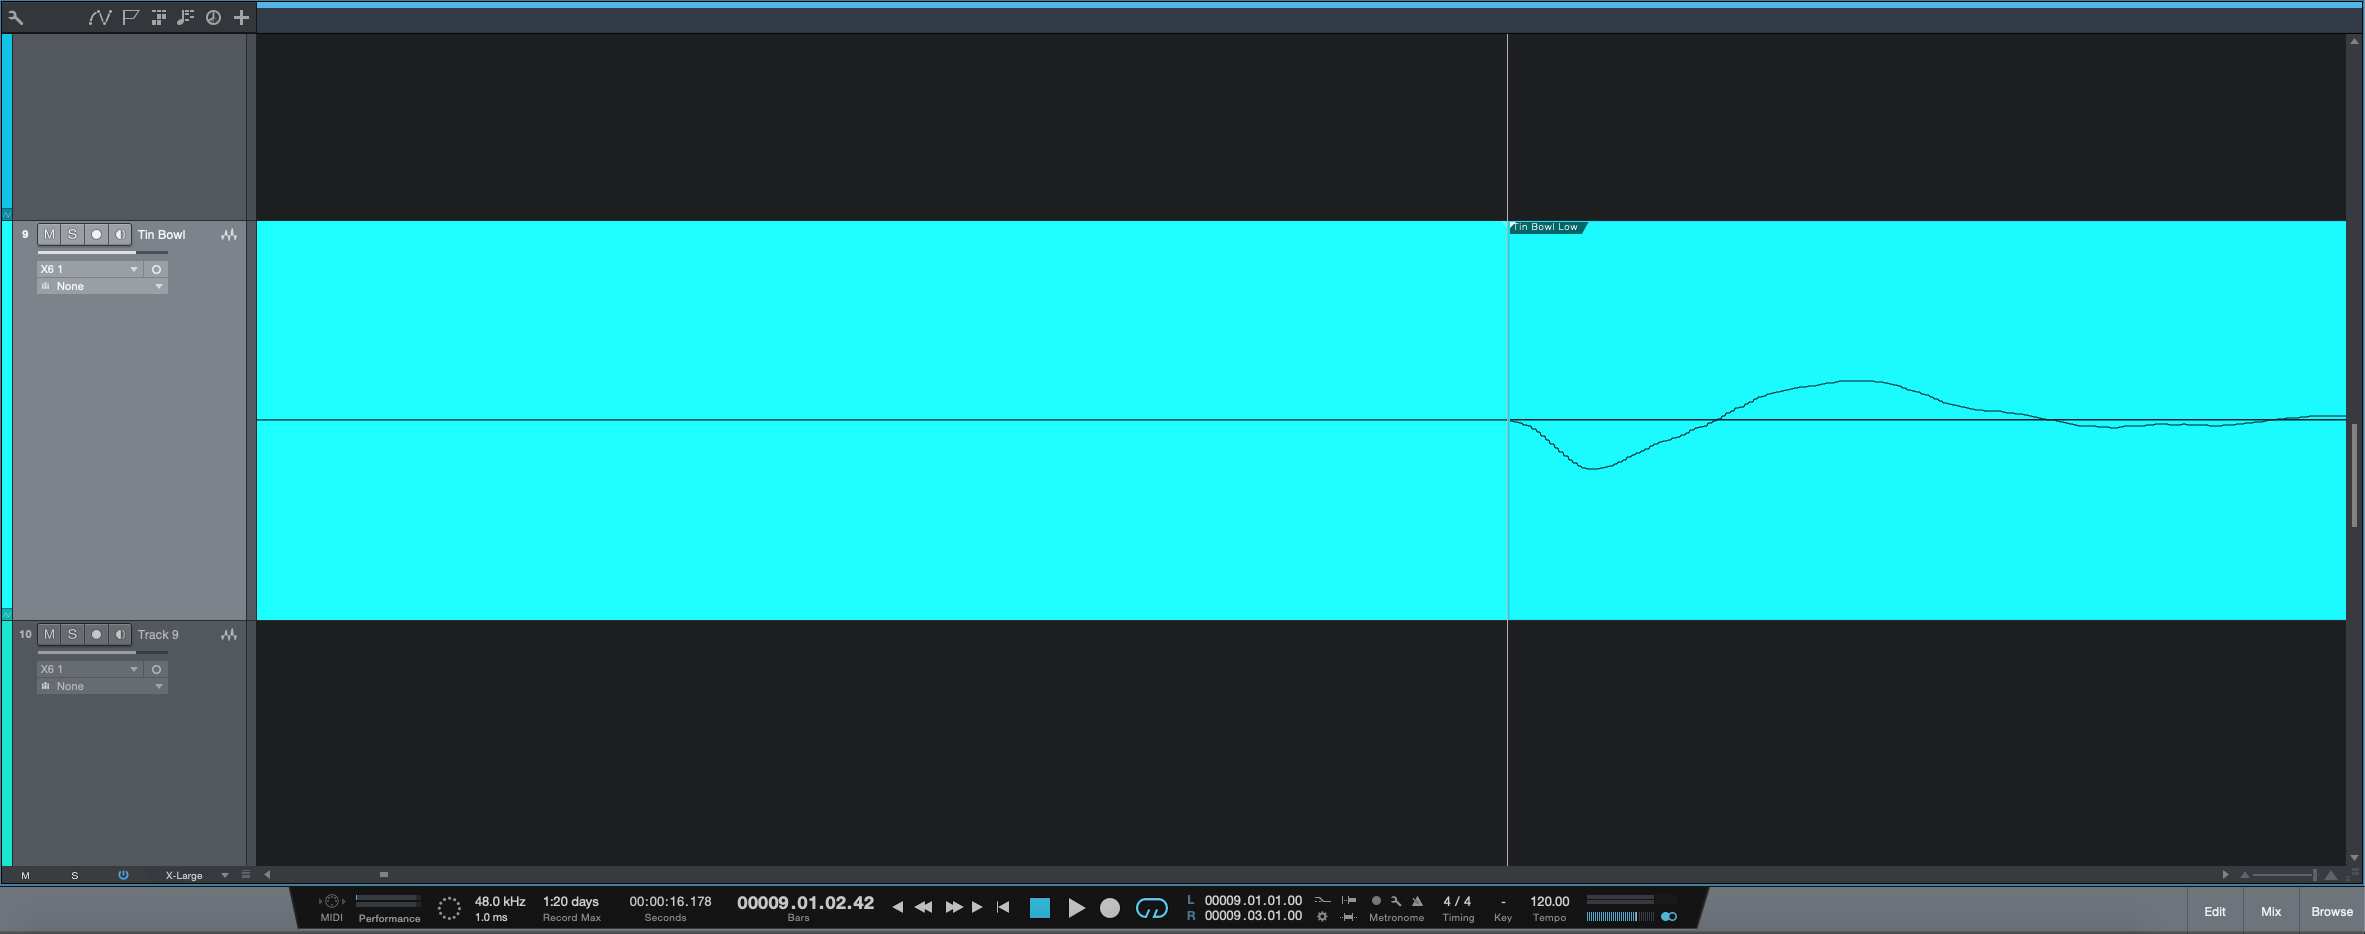
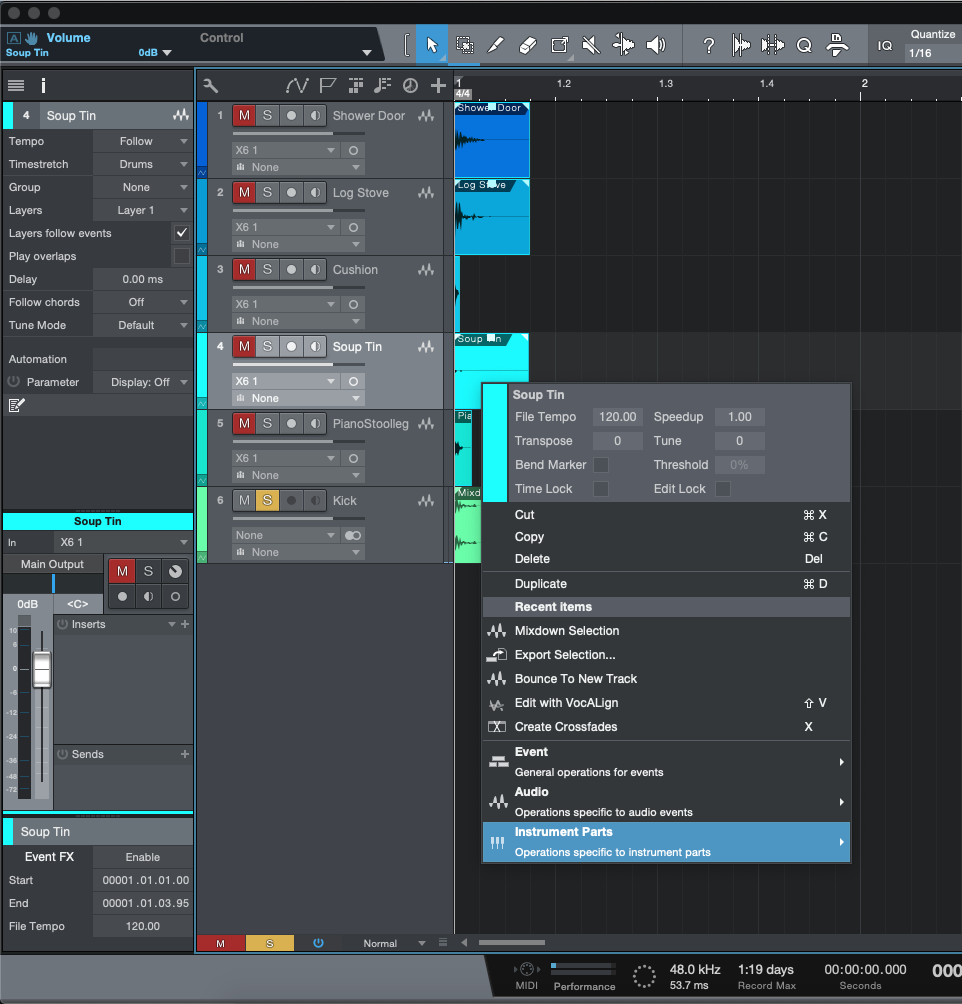
The key to creating rich samples is to blend lots of different layers for tonal variation. For example, my kick sample is curated from three different sources. The low impact shower door, the log stove for some mid texture and the tin can mallet strike for some bite. I then repeated this process of trial and error for the other instruments.
Before finally loading all of my sounds into samplers, I did some overall bus processing. Here are just a few plugins and techniques that I’ve found useful for manipulating sounds:
Transient designers: If you’re lacking attack and sustain (particularly on percussive sounds), transient designers can offer a great way to sculpt and shape the impact and length of a sample. The sustain control is also great for reducing ambience and reverb.
Sub-harmonic generator: Two plugins come to mind when requiring artificial low-end: Waves RBass, and the Brainworx BX_subsynth.
Saturation: There are so many great saturation plugins available now, but SoundToys have long remained the obvious choice when it comes to distortion and grit. I use the Decapitator and Devil-Loc on just about everything… Who doesn’t?
Making Music
Now you’ve got your own unique and bespoke set of samples, it's time to take them to the playground. The piece of music here is something I really quickly whipped up using my processed samples and three different sample-based engines.
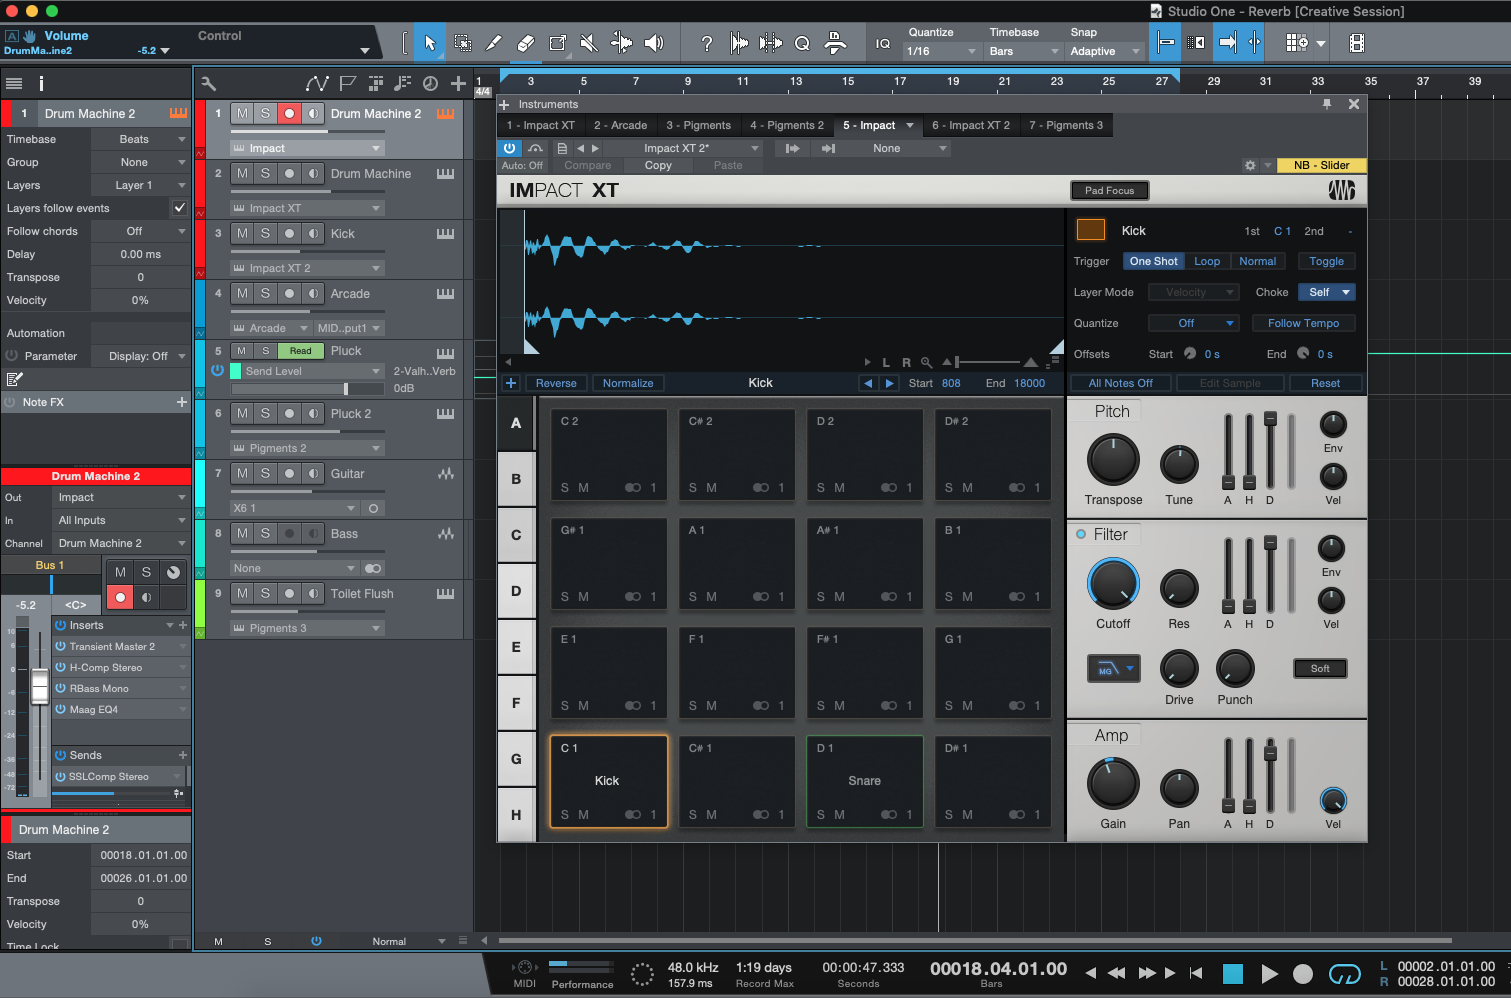
Presonus Impact XT: This harks back to the Akai MPC, the sampler/sequencer made famous by J Dilla and other hip-hop producers. A great all-rounder for creating beats and drum parts.
Output Arcade: Aside from Arcade already offering some brilliant samples packs, the in-built sample engine has some great features for manipulating your own sounds. Different playback modes and custom macros make this sampler a great choice for just about any purpose.
Arturia Pigments: I’m not saying this is my favourite VST synthesizer... but it’s my favourite VST synthesizer. This powerful synthesizer is packed with more features than I can explain in this article alone. Its recent update includes the addition of a sample-based engine and granular synth processor, making this by far the most advanced sound design tool on the list. I used Pigments to create the main keyboard sound by processing the kitchen bowl sample through the granular shaper and blending it with a wavetable engine.
Reverb recently made a video that puts these sampling practices into action. Watch how "Tone & Patches Make Music Using Household Objects."
About the author: Brent March is a musician, producer, and composer based in North East England. Visit his website here.