
Warning! High Voltage!
Guitar amplifiers operate on high voltages, the exposure to which can cause serious and fatal injuries. Never attempt any internal maintenance or adjustments yourself unless you are a qualified professional repair-person who fully understands safe practices in working with these components. Be aware that simply turning off and unplugging your amp is not enough to guarantee safe access to its internal workings.
The nature of many of a tube amps' internal components means that extremely high voltages are still present even when the amp has been turned off and unplugged for a considerable period of time, even several days. Unless you are trained and qualified to do so, never remove your amp's chassis (the metal box with tubes and transformers hanging outside, and all the circuitry contained inside) from the cabinet. Leave such work to a professional.
If you don't have much experience with basic user maintenance of the things, tube amps can be enigmatic boxes full of glowing, hissing trouble. There are a lot of simple preventative and upkeep measures that most players can perform for themselves, though, while several other bigger jobs should definitely be left to a pro.
Let's take a look at several jobs you can likely undertake yourself with the right guidance and instruction, with a nod to those that you can't highlighted in bold italics. We'll follow this with a list of repairs and maintenance procedures that are definitely best left to a trained technician.
The Do-It-Yourselfers
Basic User Checks and "Rattle Diagnostics"
Every amp that's used regularly, or certainly one that hasn't been used for a long while, should be periodically checked, tightened, and adjusted in several minor but worthwhile ways. Also, I have often been surprised to find that an odd noise coming from the amp that I initially supposed to be electrical was actually a mechanical rattle, buzz, or vibration, which was disguising itself by blending in with the sound of the amplified guitar coming from the speaker.
Get your tool kit handy and attend to these matters, and you'll likely eliminate them before they have a chance to drive you crazy. Note that you might have to remove the amp's back panels to reach some of these, but you shouldn't have to access anything inside the chassis (see our warning above).
Check, and where necessary tighten, these pieces of hardware:
Handle or handle mountings.
Speaker mounting bolts, but be sure not to over-tighten them (see Speaker Replacement below).
Bolts or screws mounting the speaker baffle to the cabinet (see Speaker Replacement, below, for more info on the baffle).
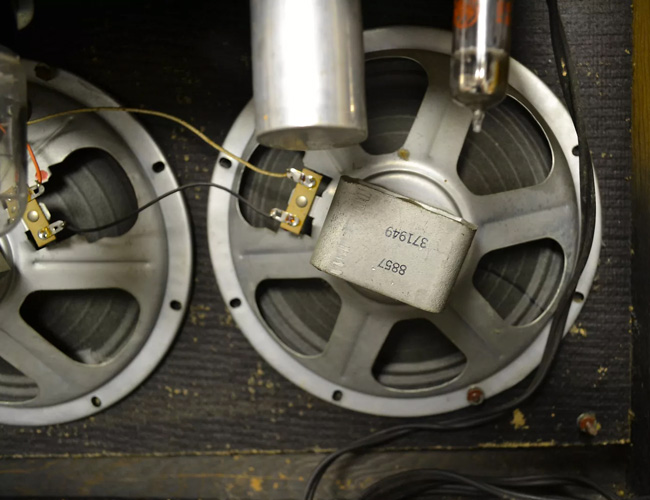
Speaker cable, and particularly any slide-on connectors that connect the cable to the speaker's + and – terminals. If these are loose, they might need to be gently crimped in with a pliers to make them tighter.
Chassis mounting bolts and/or nuts, which hold the chassis to the cabinet. Don't make them too tight, because locking the chassis down to the cabinet too tightly might induce mechanical microphony in some amps and tubes, but the chassis should be tight enough that is doesn't wobble or move at all up-and-down or side-to-side if you wiggle it.
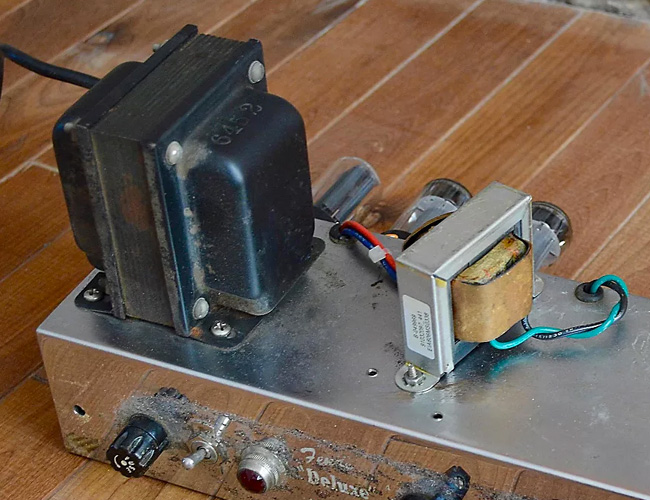
External bolts and machine screws that hold the transformers to the chassis, which can sometimes loosen over time do to vibration.
Tube Replacement
You will likely be capable of replacing many tubes, and preamp tubes in particular, provided they can be easily accessed without having to remove the amp's chassis from the cabinet (see Warning!) and they are readily accessible. Before replacing any tubes, read your manufacturer's owner's manual and any guide to acceptable tube types to make sure you're replacing like with like—and aren't doing anything that goes against the manufacturer's recommendations or which might invalidate your warranty.
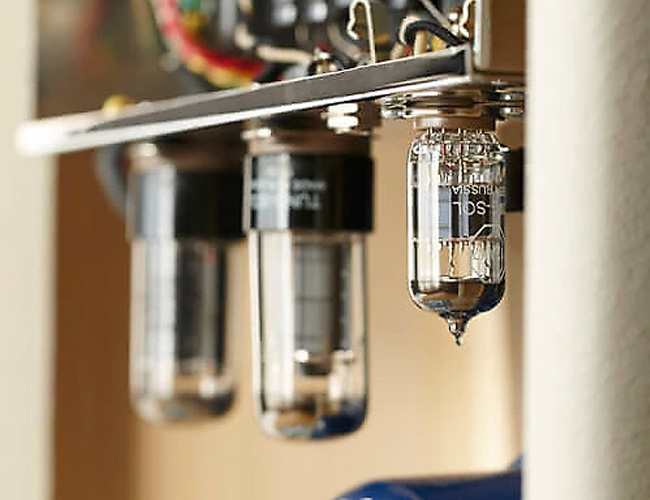
Be sure to switch off your amp, unplug it from the wall, and let the tubes cool down for several minutes before touching any of them. (My previous feature "How to Improve Your Amp's Tone With Preamp Tube Swaps" has a lot more information on preamp tube replacement, as well as a section on how to remove and replace preamp tubes.)
Preamp tubes do not need to be biased, and are just a straightforward like-for-like replacements, in most cases.
Some amps have output tubes (aka power tubes) that can be replaced without re-biasing the amp, and your owner's manual should inform you of this. Others do require re-biasing, and unless you're experienced at doing this and have the correct tools for the job, the procedure is definitely a job for a pro.
Rectifier tubes don't require any re-biasing or adjustment when they are replaced. Simply follow the safe and correct tube replacement procedures, and be sure to replace the existing rectifier tube with one of the same type. (Many tube amps don't have tube rectifiers, but have internally mounted solid-state rectifier diodes instead. These rarely fail, but if they do, replacement is definitely a job for a pro.)
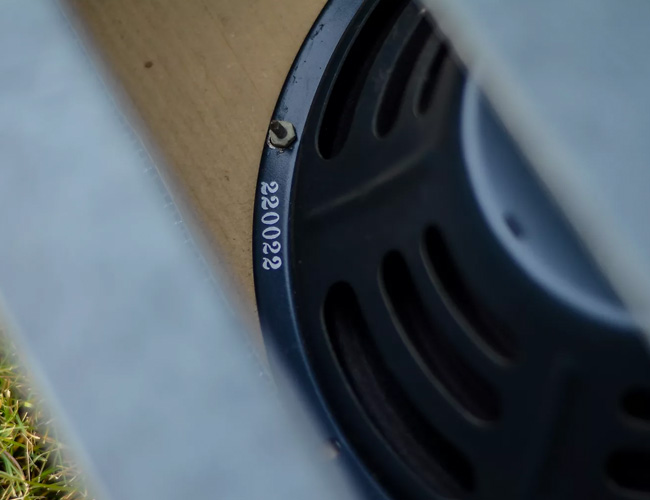
Speaker Replacement
There's no room here to discuss why you might want to change your amp's speaker, or what you should consider swapping it for. But assuming you already do want to swap it out, and have selected a suitable replacement speaker of the correct impedance and power-handling ratings, this is very often a job you can do yourself. Here's how you generally go about it, although if there are any complications to these basic procedures don't force anything or risk breaking any components—seek professional help.
Remove any back panels on the combo or extension cab that restrict your access to the speaker.
If there are any tubes hanging in the way which either obstruct your access, or which might be damaged if the speaker hits them on the way out or into the cab, note their locations and carefully remove them.
Make note of which of the speaker cables connections—positive (+) and negative (–)—are connected to which speaker terminals, mark them with a Sharpie if necessary, and loosen any push-on clips by gently wiggling them back and forth until they slip off the terminals. (Some clips have a "lock" tab that might require use of a small flat-head screwdriver to lift the tab from a notch in the speaker terminal.)
Using the correct size screwdriver or socket wrench, loosen and remove the mounting bolts or nuts that hold the speaker to the baffle (the piece of wood onto which it is directly mounted). Work in an X pattern by first removing one, then going on to the one directly across the speaker from it, and so on. When they're all removed, put them safely aside.
Carefully lift the speaker and remove it from the cab, and set it safely aside.
Lift in the replacement speaker, being careful to line up the mounting holes on its frame with the holes or bolts in the speaker baffle. If bolts are permanently set into the baffle for speaker mounting, be very careful to line up the speaker's own mounting holes with these before lowering the speaker into place, to avoid puncturing the paper speaker cone with a misalignment.
Replace the mounting bolts or nuts, reversing the procedure used above to remove them. Don't over-tighten these or you'll risk bending and distorting the speaker frame. A good guide is to get them "finger tight" with your bare fingers, then use the appropriate tool to tighten them another half or three-quarters of a turn.
Attach the speaker cable, being careful to correctly align the + and – connections.
Replace any tubes and/or panels removed at the start of the procedure, and fire it up.
Note that most new speakers require some breaking in, which can take several hours of playing, but also begins with the first time you turn on the amp. Let some base-level amp hum run through the speaker for a minute or two before you play, then play gently and rhythmically at a relatively low volume level for several minutes to warm up the voice coil and the rest of the speaker's components before hitting it hard.
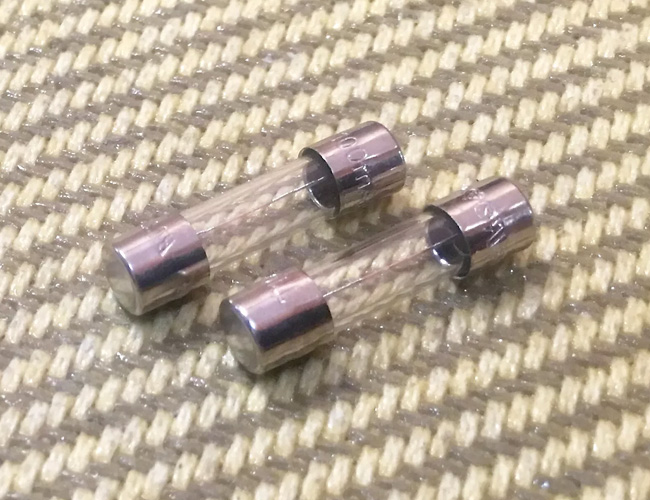
Blowing Fuses
This is a relatively common fault that can be extremely frustrating, and generally goes one of two ways regarding whether it's an easy user fix, or something you need to take to a pro. First off, though, be aware that you should always replace any fuse with one of the same type and rating (and check the printed information on the amp itself, usually right beside the fuse socket, to ensure that the correct fuse type was in there in the first place), and never use a fuse of a higher rating, which could risk serious internal damage to the amplifier.
If your amp has suddenly started burning through fuses and it has a tube rectifier, try replacing the rectifier with a new tube of the same type, then pop in a fresh fuse of the same rating, and see if that does the trick. Probably four out of five times that I've had an amp start blowing fuses more frequently than it should it had something to do with the rectifier. (Be aware, also, that some new rectifier tubes can be subject to early demise right from the factory, so even if you feel confident it was a "new tube," try another to see if that's the source of the problem.)
If that doesn't do it, or if your amp has a solid-state rectifier, persistent fuse blowing is the sign of something more serious going wrong inside—a short in the power supply, internal component failure, or possibly a problem within the power transformer—and the solution becomes a job for a pro.
Pro-Job Checklist
That leaves you with plenty you can do yourself to keep your amp running smoothly and sounding its best, and to check and correct minor operational problems. Here's a list of general maintenance and repairs that are, on the other hand, definitely jobs that should be done by a trained professional, along with the "tip-off" that might indicate the source of the problem.
Replacing filter capacitors (tip-off: declining low-end response and solidity, increasing 60-cycle hum, or dissonant "ghost noting"/following harmonics).
Tightening pins in tube sockets (tip-off: occasional crackling sounds or intermittent noise or volume changes, indicating poor preamp-tube pin contact in sockets).
Internally cleaning or replacing potentiometers (tip-off: "scratchy" or noise volume or tone controls when turned, low spots or drop outs in these controls).
Replacing power or output transformers (tip-off: frequent fuse blowing, total loss of power or output volume).
Replacing components on circuit board, or entire board (tip-off: well... just about anything that might go wrong with your amp).
If you like the idea of doing as much user-accessible maintenance as you can handle, seek out a good book on the subject to learn about all of the above procedures in greater detail.