
Klanghelm MJUC jr Compressor
PriceFREE
Incl. VAT
Instant Download
This listing has ended
See similar gear from other Reverb sellers
Listed:over a month ago
Views:12,889
Saves:110
Downloads:3,921

Chicago, IL, United States
Our users rate Reverb
Tube Compression - A variable compressor model based on these types of compressors made popular since the early 1960s
What it is:
A Jr. version of the MJUC Mk1 and Mk2 compressors.
How we use it:
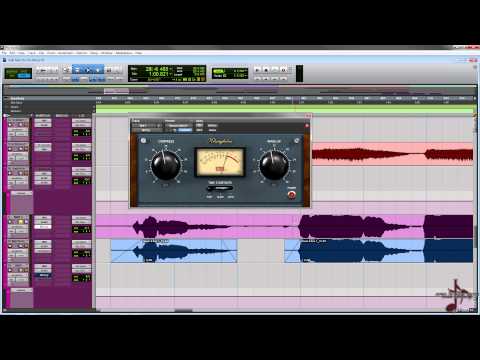
Use on Bass tracks to get life out of the low end, while keeping the dynamics tamed.
Why it's cool:
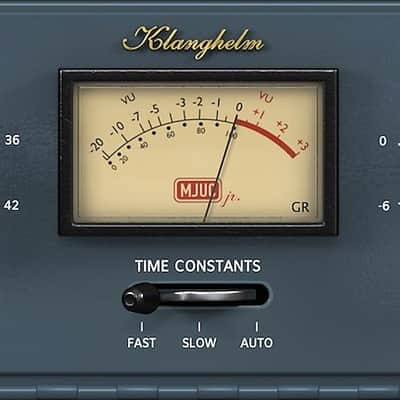
A vintage sounding compressor built for ease of use and powerful performance. MJUC jr. is the little brother of the colorful MJUC.
It's a variable-mu** design with lots of vibe. capable of smooth leveling but also heavy pumping effects. With its two gain stages and interstage transformer simulation it offers a very deep and lively soundstage.
The three-position timing switch not only controls the attack and release times of the unit, but also the slew rate of the transformers and the timing of the other parts of the circuitry, that are directly influencing the generated harmonics (saturation).
MJUC jr. is a mix of Mk1 and Mk2 of its big brother MJUC. It's combining very natural, dense compression characteristics of the early days of this type of compression with a more forward sounding approach and more harmonics creating of the variable-mu comps of the early 1960s.
MJUC jr. is freeware!
If you find it useful, please check out the big brother MJUC.
* the correct technical term for this kind of compression is "Variable-Mu", but since this term is a registered trademark by Manley Labs®, it's safer to avoid it :-)
** in case the term variable-mu is used here, it just refers to the technical correct term for this more than 70 year-old compressor topology. It is in no way intended to be confused with the product of the same name
Compatibility
Windows PC
• Windows 7 SP 1 or higher
• 32bit or 64bit VST-host or RTAS-Host (if RTAS version is available), Pro Tools® 11+ for AAX versions
Mac OSX
• OSX 10.6 or higher
• 32bit or 64bit VST 2.4, VST3, AudioUnit host or RTAS host (if RTAS version is available), Pro Tools® 11+ for AAX versions
• Intel mac
Installation Instructions
How to use installed plugins in Ableton Live: https://www.youtube.com/watch?v=N2VjFjUhlR4
What it is:
A Jr. version of the MJUC Mk1 and Mk2 compressors.
How we use it:
Use on Bass tracks to get life out of the low end, while keeping the dynamics tamed.
Why it's cool:
A vintage sounding compressor built for ease of use and powerful performance. MJUC jr. is the little brother of the colorful MJUC.
It's a variable-mu** design with lots of vibe. capable of smooth leveling but also heavy pumping effects. With its two gain stages and interstage transformer simulation it offers a very deep and lively soundstage.
The three-position timing switch not only controls the attack and release times of the unit, but also the slew rate of the transformers and the timing of the other parts of the circuitry, that are directly influencing the generated harmonics (saturation).
MJUC jr. is a mix of Mk1 and Mk2 of its big brother MJUC. It's combining very natural, dense compression characteristics of the early days of this type of compression with a more forward sounding approach and more harmonics creating of the variable-mu comps of the early 1960s.
MJUC jr. is freeware!
If you find it useful, please check out the big brother MJUC.
* the correct technical term for this kind of compression is "Variable-Mu", but since this term is a registered trademark by Manley Labs®, it's safer to avoid it :-)
** in case the term variable-mu is used here, it just refers to the technical correct term for this more than 70 year-old compressor topology. It is in no way intended to be confused with the product of the same name
Compatibility
Windows PC
• Windows 7 SP 1 or higher
• 32bit or 64bit VST-host or RTAS-Host (if RTAS version is available), Pro Tools® 11+ for AAX versions
Mac OSX
• OSX 10.6 or higher
• 32bit or 64bit VST 2.4, VST3, AudioUnit host or RTAS host (if RTAS version is available), Pro Tools® 11+ for AAX versions
• Intel mac
Installation Instructions
How to use installed plugins in Ableton Live: https://www.youtube.com/watch?v=N2VjFjUhlR4
- If Ableton Live is closed, open it and skip to #5.
- If Ableton Live is already open, go to Preferences.
- Go to Files & Folder.
- Click "Rescan plugins".
- Find the plugin in the Ableton plugins folder in the sidebar.
- Drag-and-drop the plugin onto your track at the bottom of the screen.
- Open Logic Pro X. Newly installed plugins should be detected automatically every time Logic is opened.
- If you've downloaded an effect or utility plugin, these can be used on an insert for any track in the mixer.
- Create a software instrument track if you downloaded a virtual instrument plugin.
- Under Default Patch, go to AU Instruments and choose the plugin you just installed.
- Open Pro Tools. Newly installed plugins should be detected automatically every time Pro Tools is opened.
- If you've downloaded an effect or utility plugin, these can be used on an insert for many types of tracks (Audio, Aux, Instrument, Master Fader...)
- If you’ve downloaded a software instrument, create a new Instrument track.
- Navigate to the Mixer and locate the newly created Instrument track.
- Select the desired instrument plugin by clicking on any of the Inserts on the Instrument track.
- Go to the Reverb SYNC Software and plugin Collection.
- Choose your desired plugin.
- Reverb will auto-detect your platform, so simply click the download button.
- Continue the installation process by following the prompt.
- Hover your mouse over the smart control button.
- Click Show Inspector icon.
- Click on plugins and choose your desired plugin.