
Editor's note: This article is a companion piece to Dave Hunter's previously published "Amp Maintenance: When You Can DIY vs. When You Need a Pro." If you're not a tech, read both articles to be sure you tackle only those repairs that a novice can handle, without doing too much damage to an instrument or to yourself.
There are plenty of maintenance and adjustment jobs that most guitarists can do themselves with some care and reference to the correct instruction. There are plenty more jobs you can learn to do with a little more guidance, but there are several more complicated procedures that really ought to be left to the pro... until such time that you become a pro-level repairperson yourself.
In most cases the guiding rule is, "give it a shot if you understand the procedure and it's a job that can easily be reversed or undone if you discover you're in too deep, or are just making things worse." On the flipside, if it's a maintenance item that can't easily be undone once you've gone too far, or you harbor any doubts about your ability to carry it through successfully, leave it for a pro.
Let's take a look at several jobs you can likely undertake yourself with the right guidance and instruction from published or online resources, followed by a list of repairs and maintenance procedures that are definitely best left to a trained technician. Note that there won't be space here to actually tell you how to perform all of these procedures, but I'll give a nod to the starting points to get you some ways down the road, where possible.
The Do-It-Yourselfers
Basic Action Adjustments
By "action," we generally mean the height of the strings relative to the fretboard, which is the neck's playing surface. This is one of the main factors governing the playing feel of any guitar, coupled with the general shape and thickness of the neck and other factors inherent to the guitar itself. Where possible, look up your guitar's manufacturer's instructions for any such adjustment, but even without such guidance available you can usually take a stab at it yourself without doing any harm.

Check whether your guitar has a bridge or bridge saddles with obvious adjustment points to raise and lower these parts, thereby raising or lowering the strings.
Slacken each of the strings slightly at the tuning pegs to reduce the tension at the bridge and/or saddles.
Carefully make your adjustments up or down, ensuring you raise or lower each saddle by an equal amount if it's a per-saddle adjustment rather than a raising or lowering of the entire bridge. (Some bridges, like Gibson's tune-o-matic bridge and the like, will only allow overall adjustment of the bridge up or down via each end of the unit, but this usually works fine because the saddles of such bridges tend to follow the correct arc already.)
Tune the guitar, play to test the results, and repeat from the top if further adjustment is required.
Also, note that "adjusting the action" doesn't always mean lowering the strings. In some cases the strings might be too low—so that they're buzzing, fretting out, or just feeling odd under the fingers—and you will want to raise the string height instead to improve both the playing feel and the sound of your guitar.
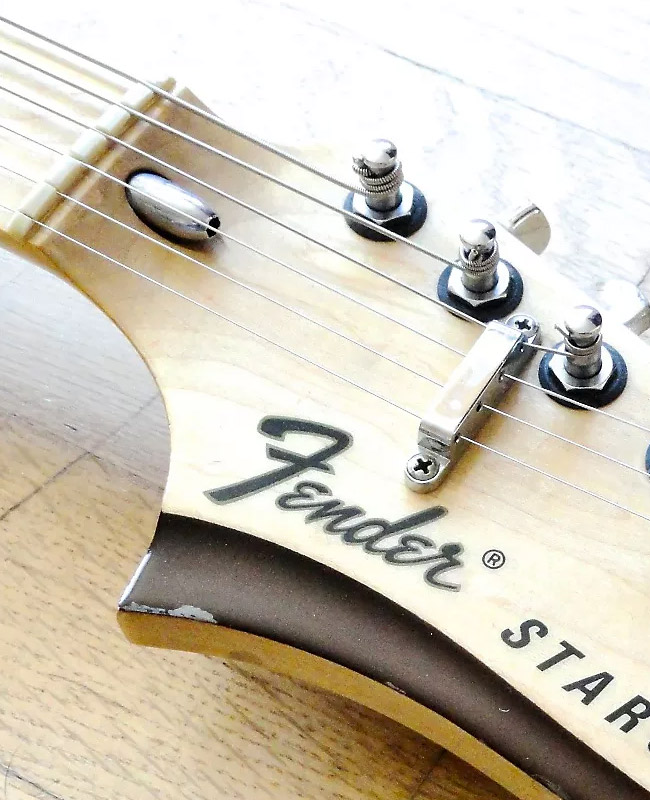
Adjusting Vibrato Bridges
The positioning and set-up of vibrato bridges that follow the all-in-one vintage-Stratocaster model (mounted on six screws at the front of the base plate) can have a major impact on string height and playing feel in general, and this can complicate your DIY efforts to adjust your guitar's action in some cases. But the presence of such a bridge doesn't need to constitute "a problem", as such, rather it's just something to be aware of.
These vibratos impact a guitar's string height not only according to how their individual saddles are set, but also according to the degree of "tip-up" or "float" found in their base. For example, a bridge angled too steeply upward will raise the saddles higher off the top of the guitar, regardless of the height to which the saddles themselves are adjusted.
Note that many other independent vibrato units that are positioned as tailpieces—such as those made by Bigsby, Gibson's Maestro Vibrola, or the Fender Jazzmaster/Jaguar model and others—usually don't have an impact on string height and playing feel, which is still reliant upon the bridge with which they are partnered.

The original Stratocaster vibrato was intended to be set with its base at a slight angle, or "tip-up," for a smooth vibrato action that has just a little up-bend as well as down bend, and no "clunk" when you return the unit to its resting position.
Fender specifies that you set this bridge with a gap of 1/8-inch between the top of the guitar and the underside of the back edge of the bridge plate. This gap is achieved not by any adjustment of the screws on the bridge itself, but by the balance between the tension of the strings and the springs mounted in the cavity at the back of the guitar.
If your bridge is tipped too far upward, detune the strings just slightly (which will initialize raise the bridge angle even further), then remove the cover of the spring cavity on the back of the guitar, and gradually tighten the two screws in the "spring claw", the claw-like piece of metal at the opposite end of the springs from the bridge block. Keep tightening these springs until the angle of the bridge base is reduced to slightly less than the specified 1/8-inch—then re-tune the guitar to pitch, and see if the string tension brings the base to something close to the correct angle.
If the bridge's angle is too shallow, remove some of the tension on the springs first by loosening the screws in the spring claw a little, then re-tune the strings to see where that gets you.
Completing such bridge adjustments often involves a lot of toing-and-froing between adjusting the springs and the strings, until you get the balance right. One tip that often helps to speed the process is to put a stack of business cards between the back edge of the bridge base and the top of the guitar, to "pre-set" the tip-up gap to 1/8-inch. Once you have adjusted strings and springs to the correct balance of tension, the business cards should more or less fall out of place, and the guitar should be pretty close to being in-tune.
Some players like to set these bridges flat to the body, so you get down-bend only, along with a little more wood resonance (or so the theory goes) in the guitar tone. This is achieved by tightening the springs until the bridge base has no angle whatsoever, in which case any string height is a factor of saddle height adjustment alone.
Setting Intonation
Setting intonation is a fairly simple procedure on most guitars. Achieving correct intonation involves fine adjustments of the length of each individual string so that it is optimally in tune when held at any fret. It's pretty easy to adjust bridges with individual saddles that have an adjustment point to move these saddles forward and backward in the bridge base or plate, such as found on vintage Stratocaster vibratos, Gibson-style tune-o-matic bridges, and the like.
Using a guitar tuner, tune all strings to the correct pitch, then check the pitch of the string you wish to adjust at its 12th fret harmonic (played by gently touching the string right above the 12th fret, but without pushing down the string). This should be the same pitch as the "in-tune" pitch of the open string.
Now fret that string at the 12th fret and play it, checking the pitch on your tuner. If the pitch is the same as that of the harmonic, that string's intonation is already correct.
If the pitch of the fretted string is flatter than that of its harmonic, turn the adjustment screw to move the saddle forward slightly (ie toward the neck). If the fretted string is sharp when compared to its harmonic, move the saddle backward. (This mnemonic will help you remember which way to go: "Fret flat? Forward!")
It's usually a good idea to de-tune the string slightly before adjusting the saddle either forward or backward, to remove the tension at the saddle and avoid damaging either the hardware or the string itself. Then obviously you have to tune it again before checking the pitch on your tuner.
Telecaster-style three-saddle bridges often require some compromise of intonation between the pairs of strings grouped over each saddle, hence the popularity of "compensated" saddles, which aim to help these string pairs cooperate a little more, intonation-wise.
Bridges that comprise only one integral saddle "bar", such as Gibson's "wraparound bridge," some Gretsch units, and the like also require some compromise between all strings, and might inspire you to seek help from a professional.
Adjusting Pickup Height
There are many reasons why you might want to adjust the height of your guitar's pickups relative to that of the strings, whether to increase or decrease the gap between them, depending on what you want to achieve. Fortunately, this is usually pretty easy to do—and I covered it in detail in my recent article on Pickup Height Adjustments.
Truss-Rod Adjustment
Many guitarists shy away from touching their truss rods, but guitar manufacturers traditionally include instructions for performing this adjustment in their guitars' cases' pockets for a reason, and you shouldn't hesitate to attempt minor adjustments to this important component.
I won't try to walk you through the procedure here—refer to the manufacturer's instructions that should be specific for your guitar, or seek relevant guidance from a respected publication or online resource—but here are a few tips worth keeping in mind when you attempt truss-rod adjustment for yourself.
Before digging into any of that, you should also read a good guide on checking the relief in your guitar's neck, which should help you understand why you want to adjust the truss rod in the first place, and whether it needs to be loosened or tightened.
Always slack off the strings by a few turns at the tuners before undertaking any truss-rod adjustment, to take the tension off the neck.
Make any truss-rod adjustments in small increments only, re-tuning the guitar and checking the neck relief before proceeding. Start with just an eighth of a turn of the truss-rod nut (or adjustment point), or perhaps a quarter turn at most if your neck's relief appears to require fairly drastic adjustment.
If a half or three-quarters of a turn of the truss-rod adjustment point doesn't do the trick, you should consider taking this job to a professional.
Be aware that the guitar's neck often needs to "settle" after any truss-rod adjustment, that is, it needs some time for the tension between strings and truss-rod to balance out. As such, you can usually get your adjustments "pretty close" at the time they are made, but you might not see the full results until the guitar has sat unplayed for a few hours, or even overnight.
Cleaning Electronics
If you've got scratchy volume and/or tone pots, or a glitchy switch, you can often take care of this yourself without ever firing up a soldering iron or getting into anything that might damage either the guitar or yourself… or both. You'll need a can of spray electrical contact cleaner such as DeoxIT, NoFlash, or QD Electronic Cleaner—the type that has the little "aiming straw" that fits into the nozzle to direct the spray into small gaps and tight spaces.
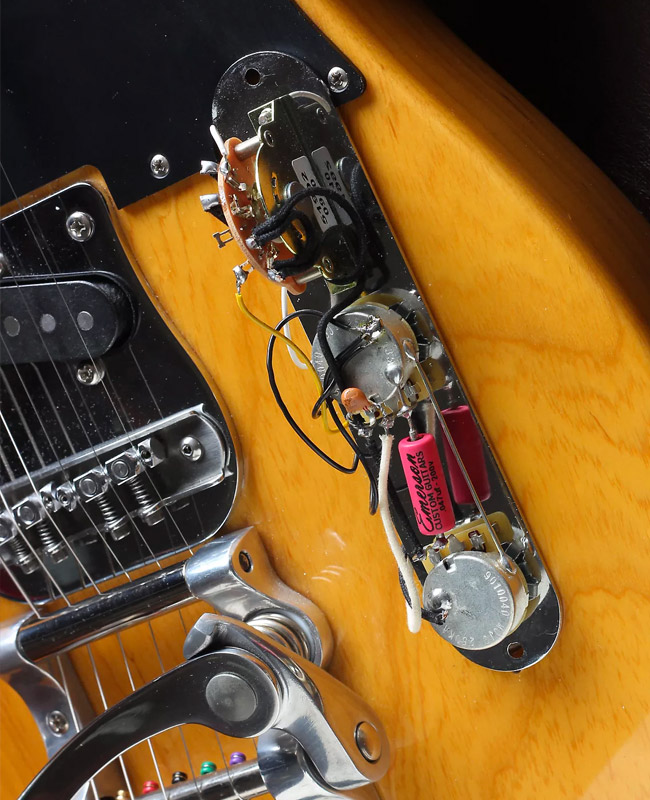
On Fender Stratocaster type guitars and others with controls mounted to a plastic pickguard on the top of the guitar, you can often access the culprits by removing just a few screws from that part of the guard and carefully bending it upward. Most Gibson guitars or others with controls mounted through the wood of guitar's top will provide fairly easy access to the controls via rear control cavities with removable plastic covers.
Access the controls in question, attach your spray can's aiming straw, and direct the tip of the straw into the rectangular slot on the side of the potentiometer housing, which is usually adjacent to where the wiring connection terminals are mounted. Give that pot a quick squirt, and then rotate its control knob back and forth several times to spread the cleaner.
While you're in there, give each of the pots a quick spray job, even if they haven't been troublesome, and hit up the mechanism and terminals of any switch too.
Solder-Dependent Electronic Repairs
Let's call this one a dealer's choice: do you already own a soldering iron, and know how to use it safely? If so, there's no reason not to attempt basic soldering repairs, pickups and component swaps, and minor modifications if you're confident you know what you're doing and can undertake the work safely. If you don't already possess at least a little of such skill, and/or have no clue where to begin with such a repair, that's probably a good sing that you should leave it to a pro.
Jobs Best Left to Professionals
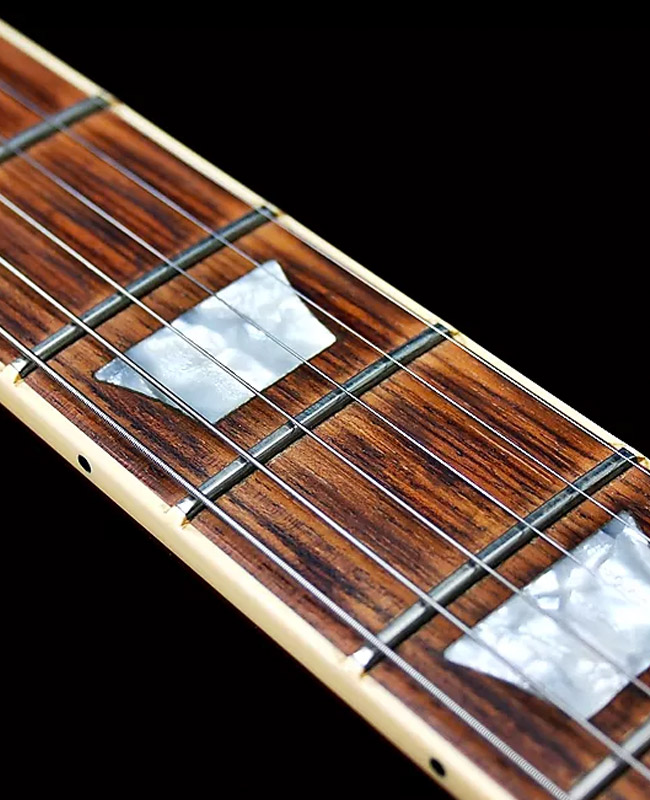
Fret Work
As with soldering jobs, above, if you don't already know how to do fine fret work and own the tools required for the job, you'll probably want to leave any such maintenance and repairs to a pro. Everything from a basic dressing and leveling to a significant re-crowning or a total re-fret requires considerable skill and experience. Indeed, this is one of the areas of repair that often separates the great techs from the good ones.
I know that sounds like kind of a Catch 22 declaration—"if you don't already know how to do it, don't do it!"—and if you have the urge to attempt such work, how will you ever learn? If you really feel like learning to do your own fret work, purchase the correct tools from a reputable supplier, and try your hand on a junker guitar that you can afford to totally mess up. Otherwise, any effort to "learn" on a good guitar that you rely on for your daily playing (and can't afford to damage and potentially devalue) is likely to lead to disappointment, and an eventual trip to a pro anyway to get the mess straightened out.
Nut Repairs and Replacement
If you have tuning, action, or general set-up issues that seem to originate from a problem at the nut, this is usually something best left to a pro. For one thing, correct nut slot adjustment requires extremely specific and precise tools, which you're unlikely to own if you don't already do this kind of work on a regular basis. For another, this is very much a "one and done" kind of job—which is to say, one slip, and you're done with that nut… you need a whole new one.
Significant Truss-Rod Adjustments
If you have attempted your own truss-rod adjustment, keeping in mind the tips given above, and it hasn't achieved the desired correction in neck relief, take it to a pro. A truss rod (or neck) that doesn't respond to relatively minor adjustments might be trying to tell you there's a bigger issue here, and any more extreme adjustments should be undertaken by an experienced professional anyway.
Neck and Body Wood Routing and Repair
Does your repair or modification involve having to cut, route, chip, or otherwise hack away any of the wood in the guitar's body or neck? Unless it's a real beater and you're happy to inflict your own hack job on it, take it to a pro. Mods like adding extra controls or switches or fitting a humbucking pickup into a single-coil route require tidy woodworking and the correct tools… unless you're just happy to go at it with a hammer and chisel the way I did as a teenager.
More Complex or Invasive Electronics Repairs

If you need major re-wiring, re-soldering, or noise-abatement issues, chances are you'd be best off taking the guitar to a professional. It's easy to get in over your head with major electronics repairs, end up disconnecting too many things and losing track of what goes where, and end up having to take the mess to a pro to sort it out regardless. Chasing down stray hums and odd noises that might be caused by poor connections or grounding issues can also be an almighty pain in the posterior, and the help of an experienced repairperson will usually be most welcomed here.
Finish Repairs or Refinishing
If you're just touching up an old beater, or patching a pin-head-sized ding in an otherwise thoroughly "relicked" guitar anyway, go for it. If you want any damaged finish to be repaired to look as much like a new and undamaged guitar as possible, though, you should take it to a finishing specialist. It's just paint, right? How hard can it be to spray it on, dry it correctly, and make it look nice and glossy and smooth? Very hard.
Regardless, Take It to a Pro Now-and-Then
Having probed all of these Pro and DIY jobs, it's worth noting that if money isn't an issue, it's often worth taking your guitar to a qualified professional for a full check and set-up now and then just to give it the professional treatment, even if you might be able to do much of it yourself. Guitarists who haven't done this in a while are often amazed by what wonders of improved playability a really good tech can achieve, and most will tell you it was well worth the money.