Keyboards, synths, MIDI controllers, and related electronic instruments come in all shapes and sizes, from small desktop units to large 88-key keyboards.
For most of them, the fundamentals of the packing and shipping process remain the same. You'll just need some different sized boxes.
For truly heavy keys like a vintage Fender Rhodes, you're going to want to take extra precautions. In this tutorial, we're focusing on keyboards and synths that are light enough for most people to box and lift themselves.
To start, gather the materials you'll need to pack and ship it safely to its new home.

What You'll Need
- A box that allows 2-3" (5-8cm) of space around the instrument (you can find Reverb's own small and large rectangular shipping boxes here)
- Bubble wrap
- Foam pads, packing peanuts, packing pillows, or other similar packaging material
- Packing tape
- Scissors or knife
- Measuring tape
- A marker
- Foam corner protectors (not necessary for all, but a great way to protect against damage, especially for longer keyboards)
Finding the perfect sized box right out of the gate can be difficult for instruments of varying dimensions, so we're going to assume that you need to cut down a bigger box to just the right size
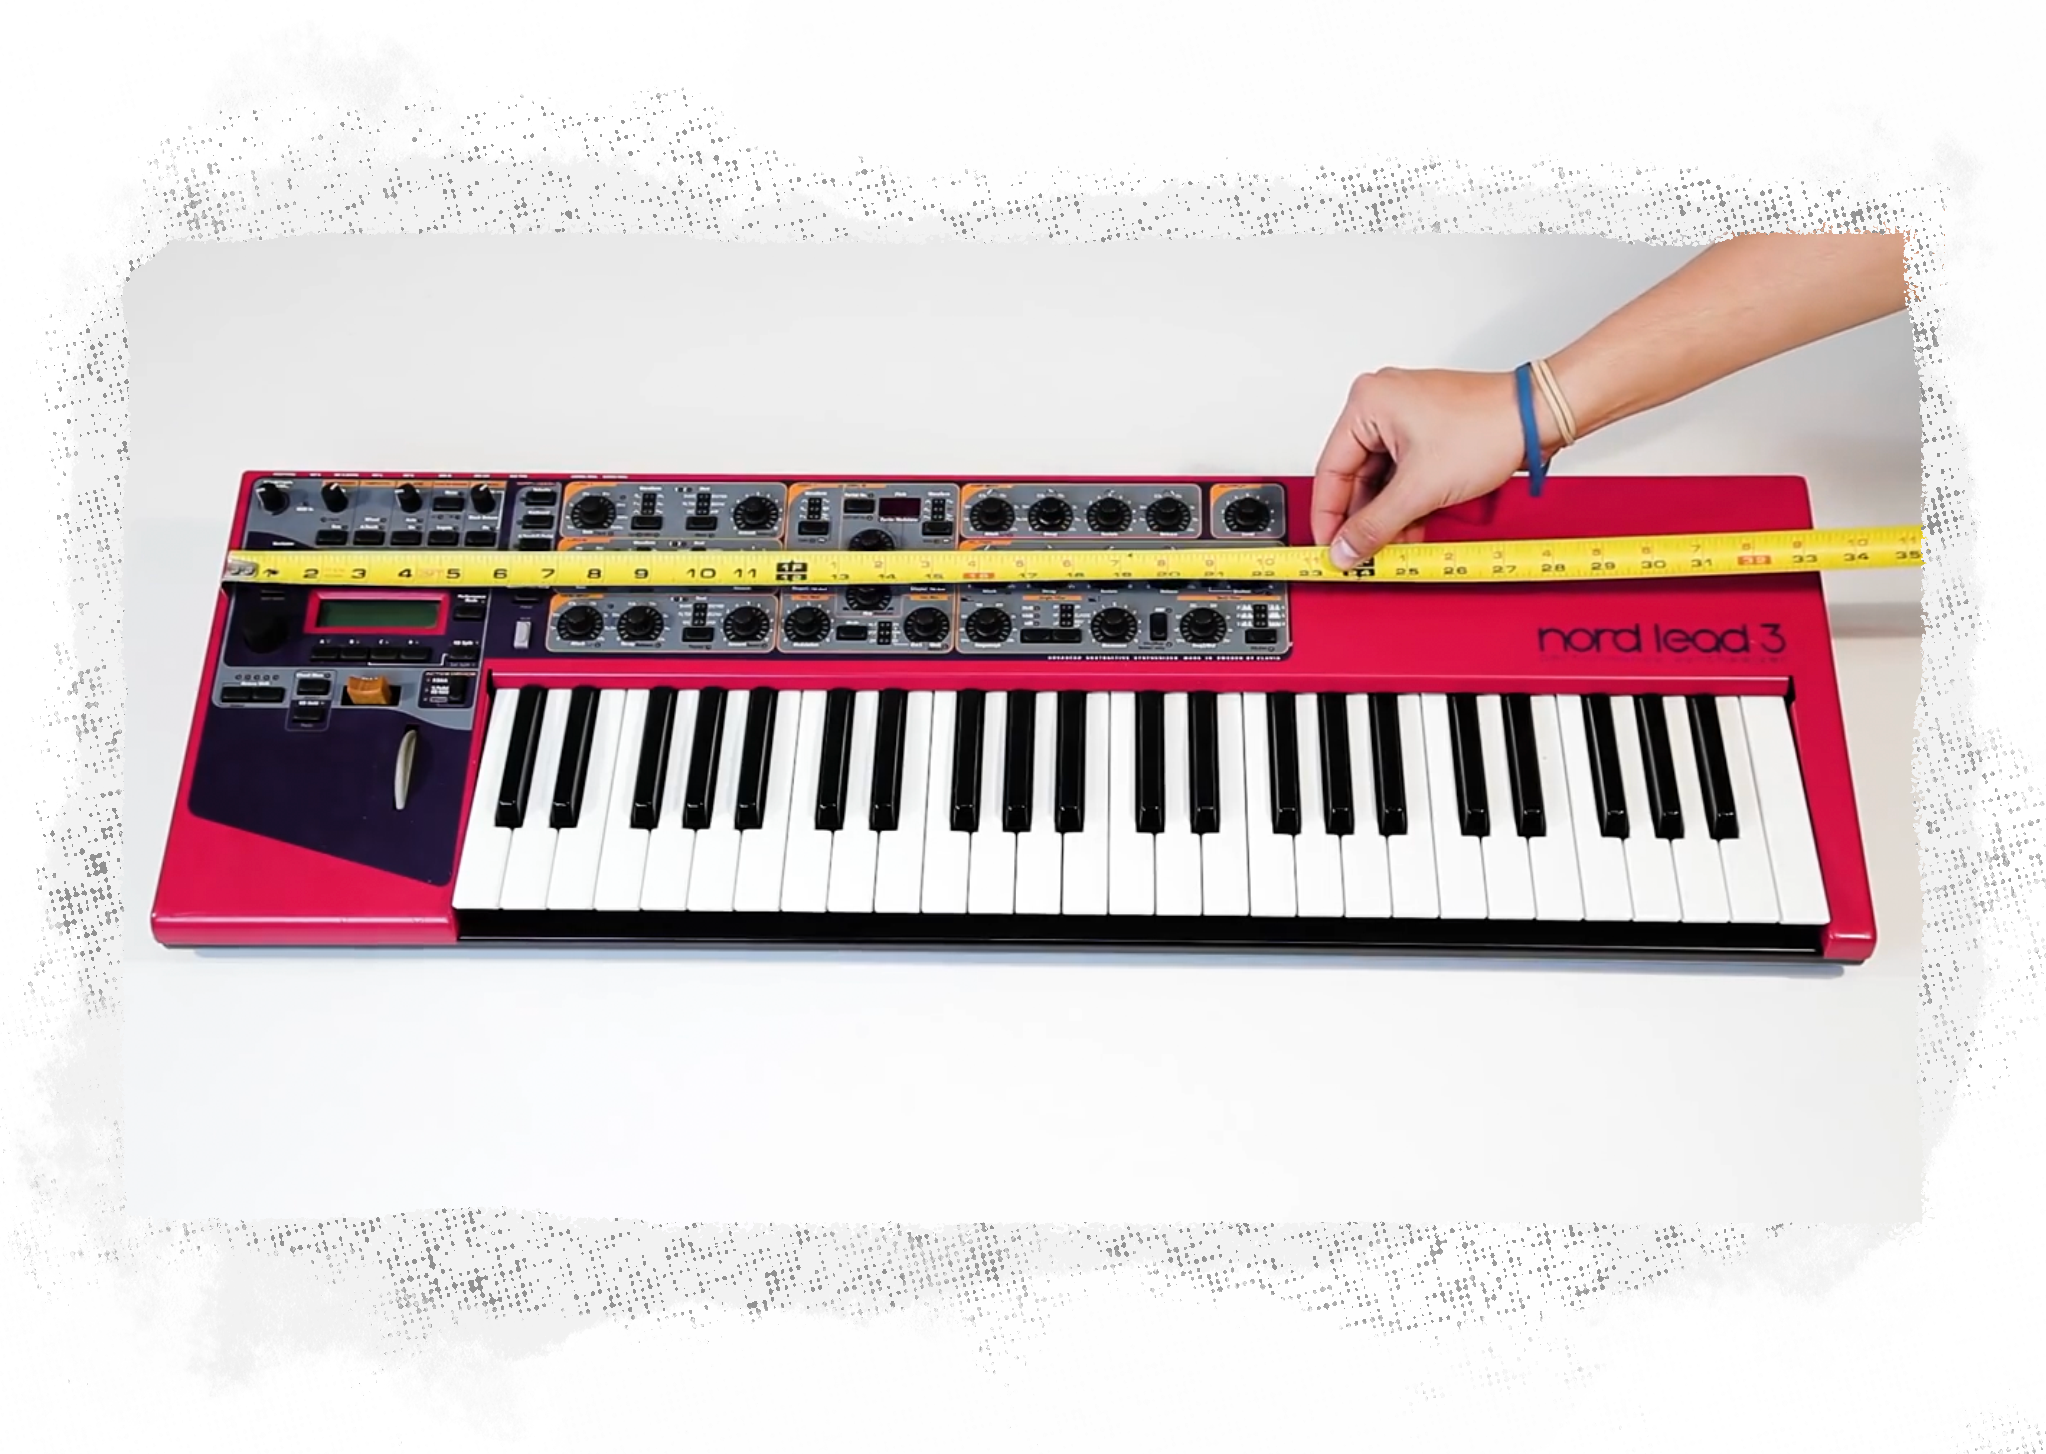
Measure your instrument.
Add 5" (13cm) to the length, width, and depth measurements of your instrument for the ideal box size.
Mark your box.
Mark your box so you know where to cut. Don't forget to add space for flaps!
Make your cuts.
Make your cuts. Cut along the lines you marked on your box, and then cut your flaps.
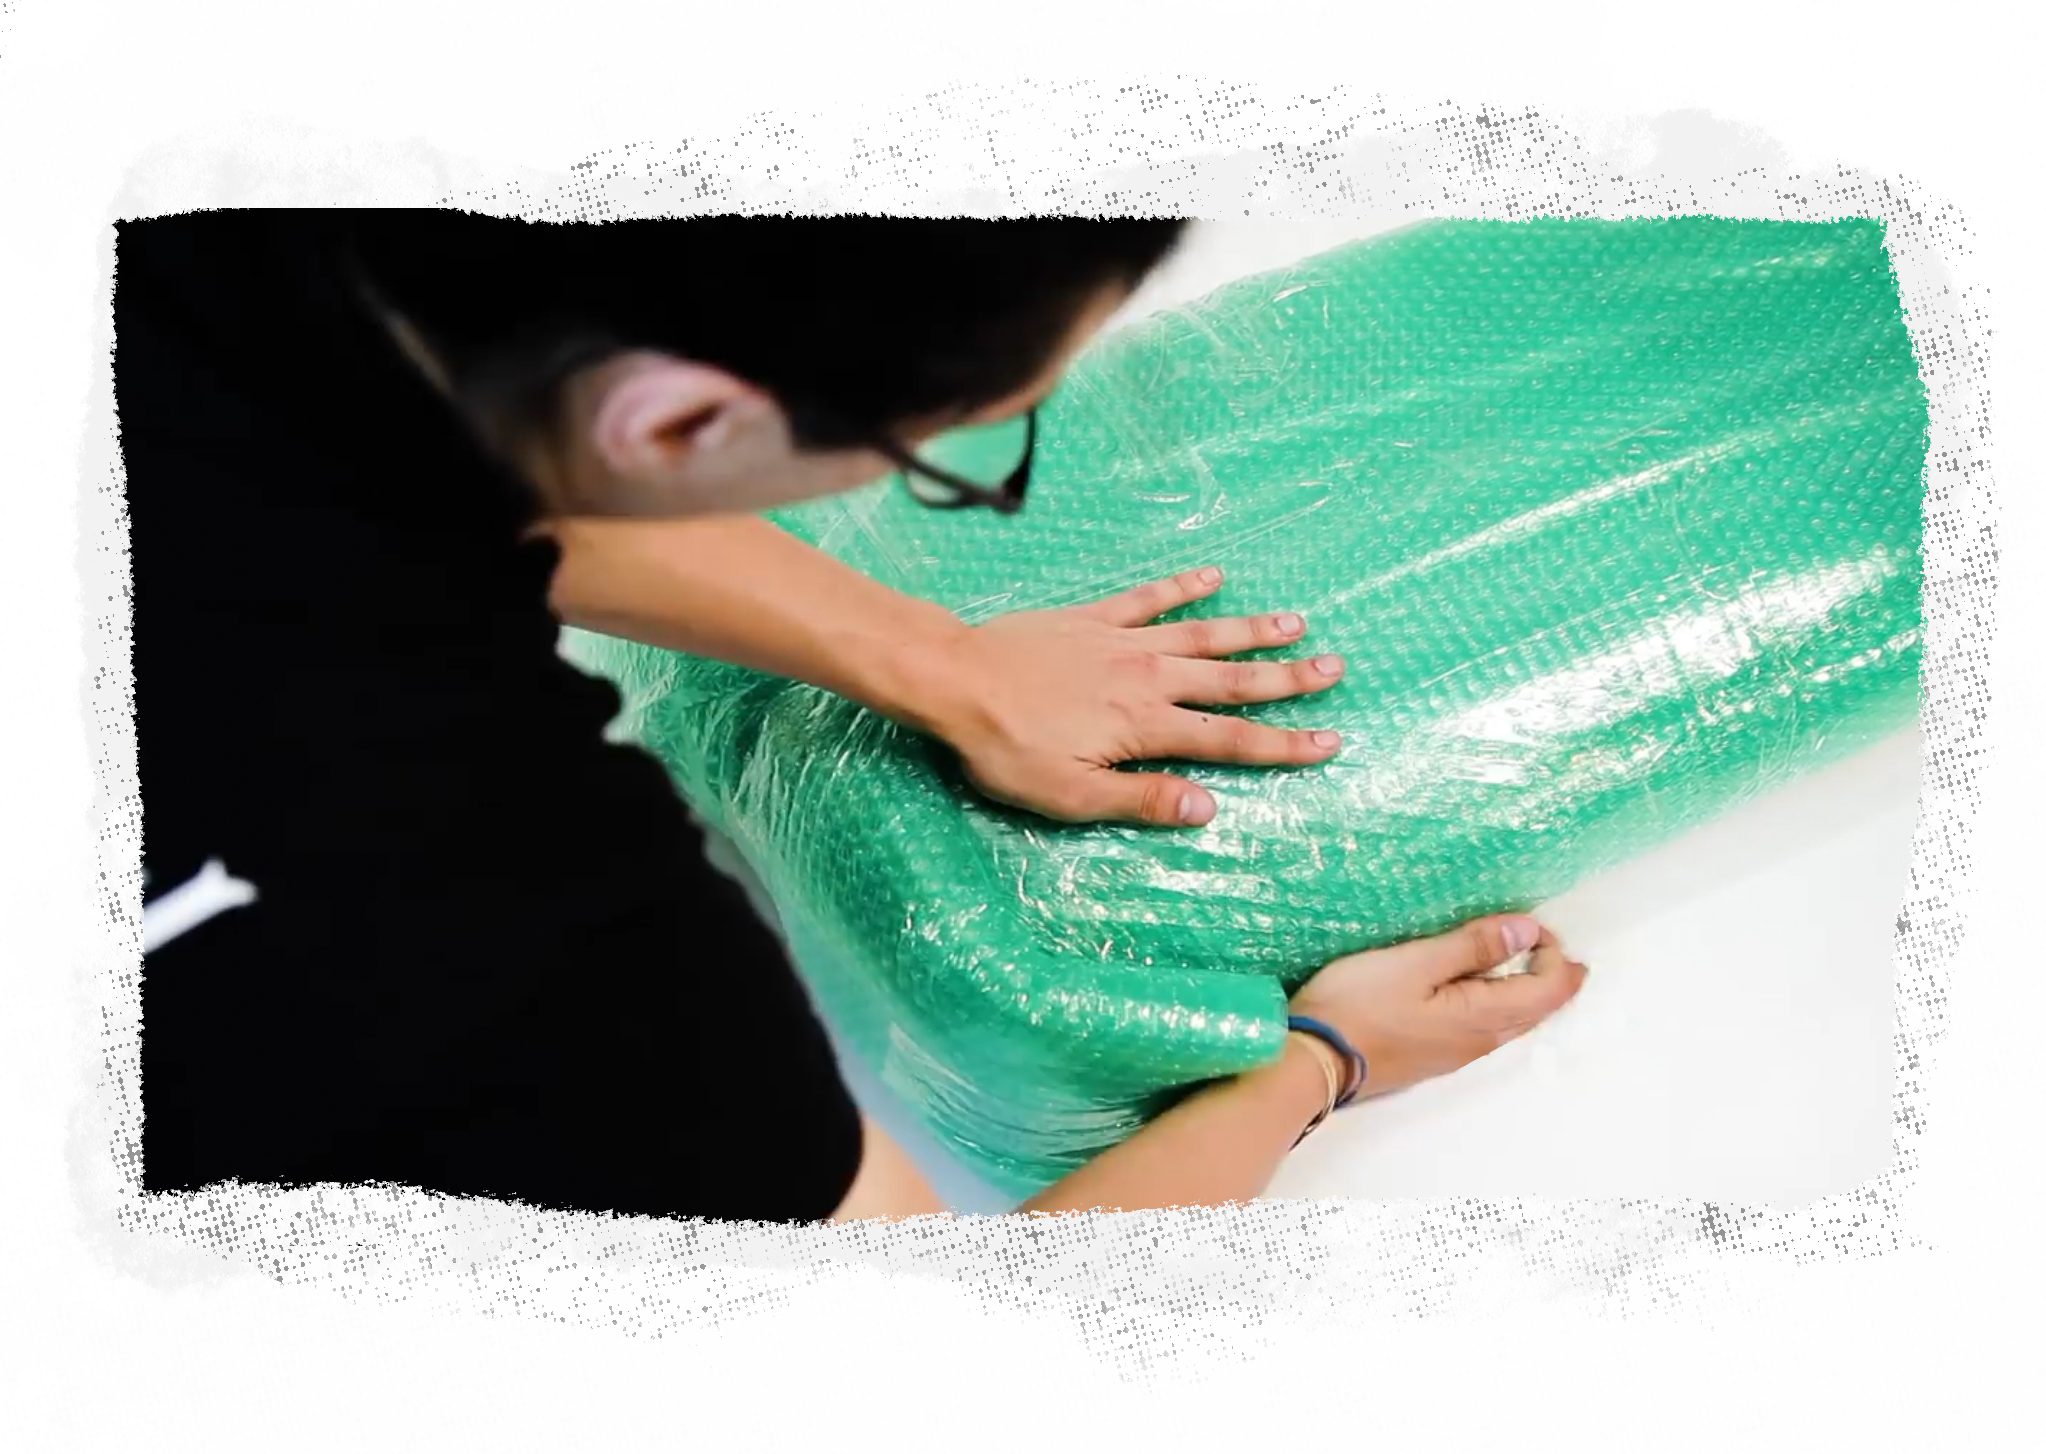
Use 2-3 layers of bubble wrap to wrap up your keyboard.

After your keyboard is wrapped and taped, wrap up your power cord and any other cables in their own layer of bubble wrap. Place the wrapped cable(s) on top of the wrapped keyboard and wrap it all together with another layer of bubble wrap.
If you have foam corner protectors, now's the time to place them.
If you don't have foam corner protectors, you can fashion your own with two layers of bubblewrap: Take one layer, roll it up so that it's 2-3" (5-8cm) thick, and tape it together to make a padded end. Do the same with the other layer. Take each end and secure them to the ends of your wrapped keyboard.
Next, layer the inside floor of the box with 2-3" (5-8cm) of foam pads, packing peanuts, or other packaging material.
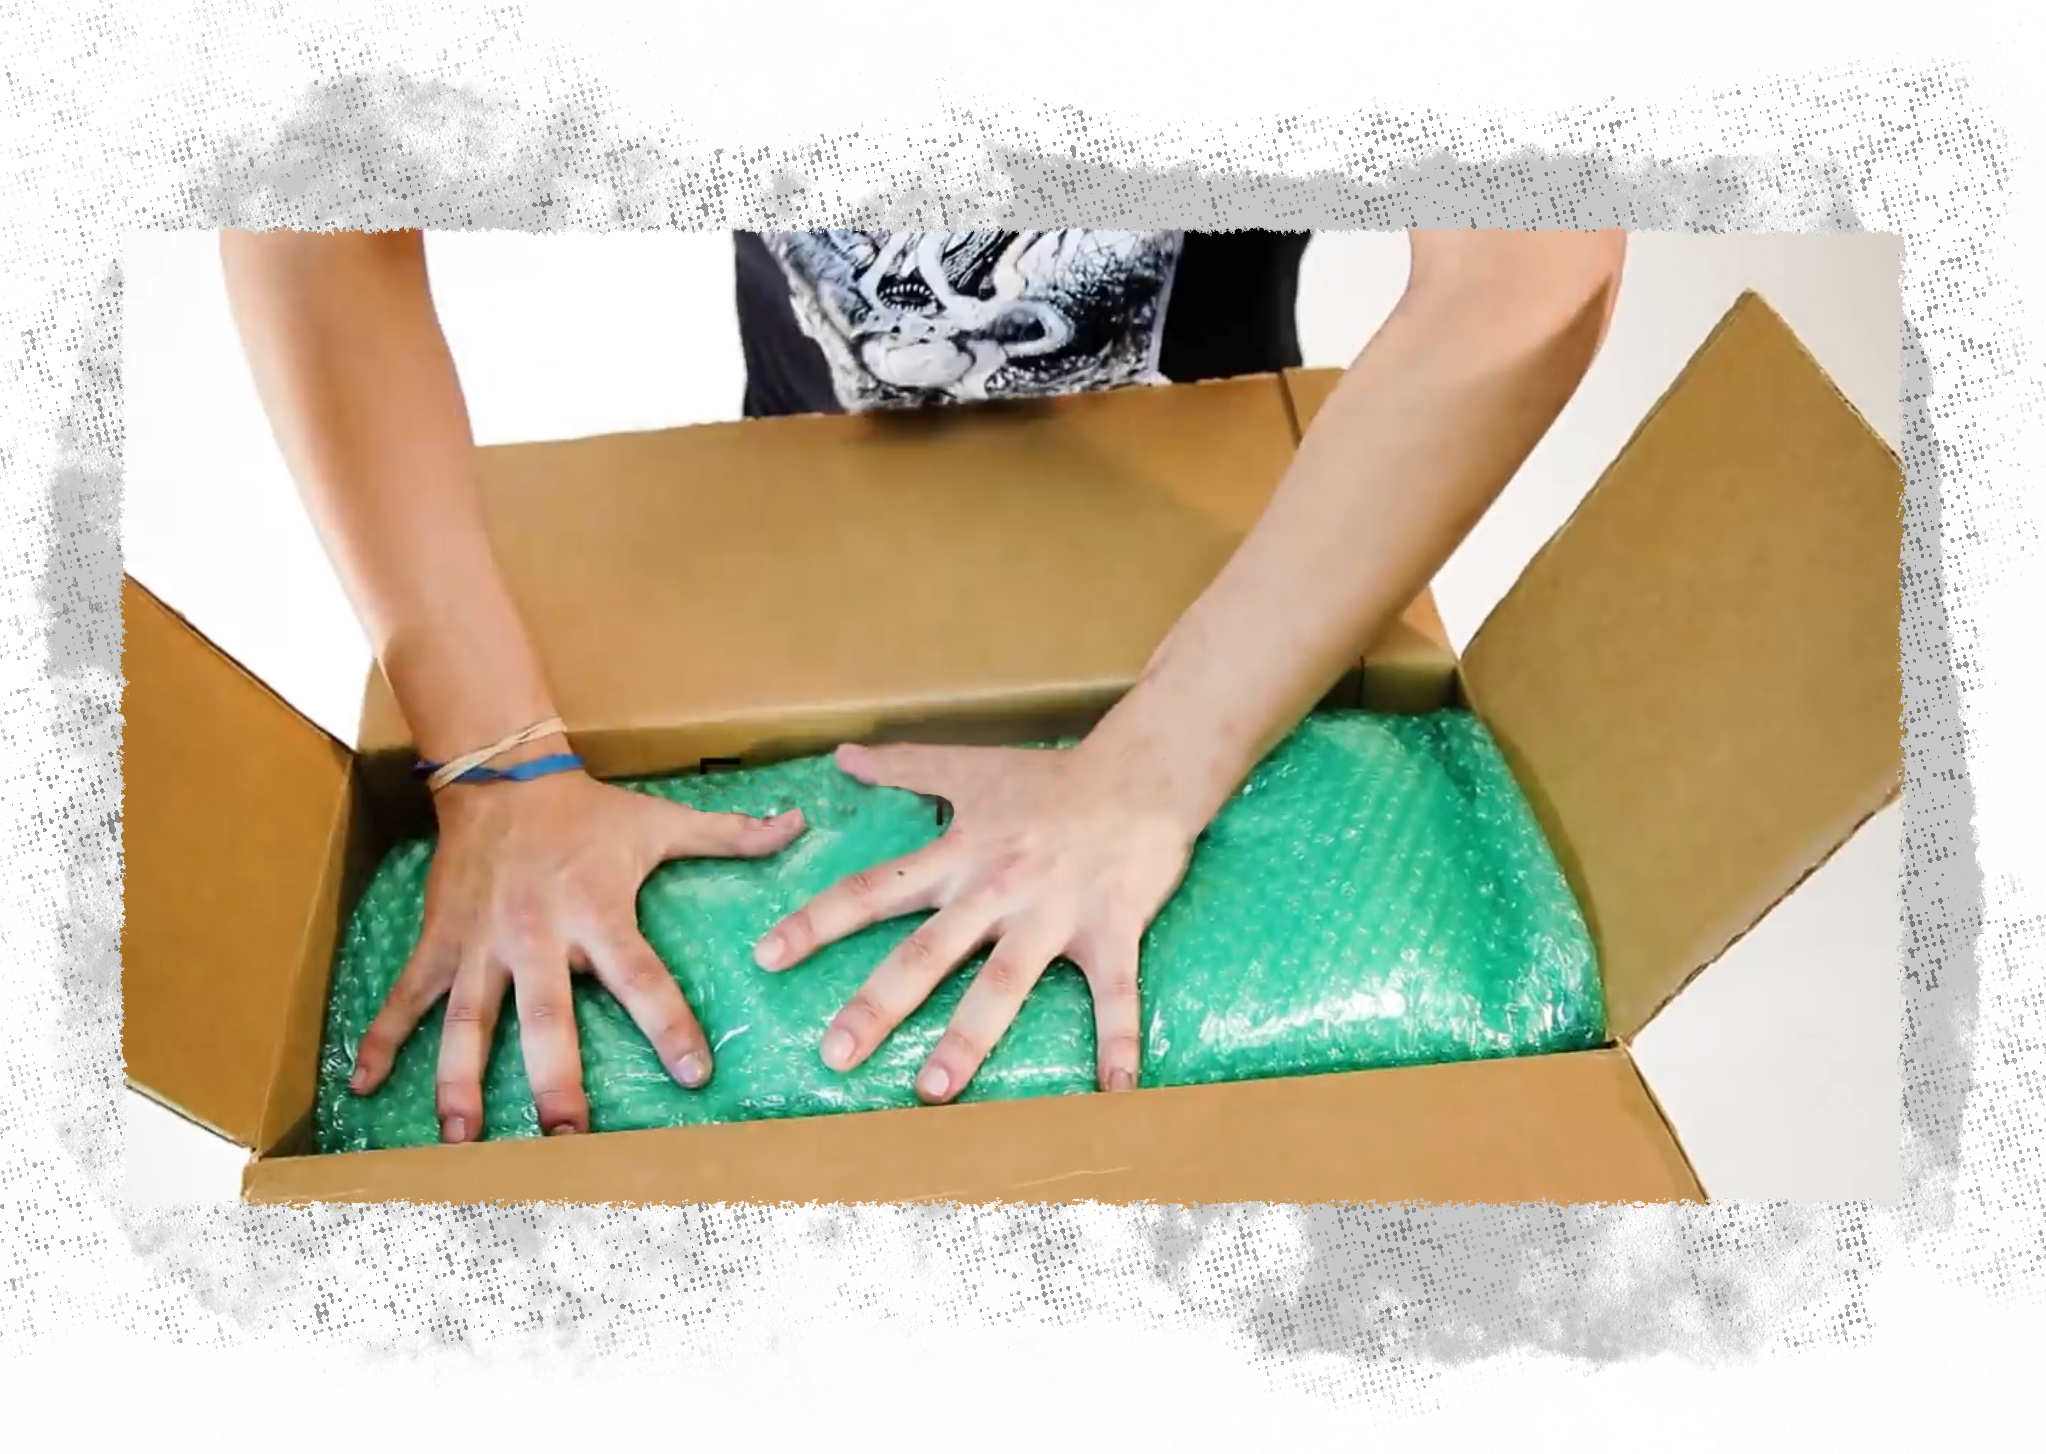
Slide your instrument into the box, and line all sides with more padded packing materials. Then tape your flap closed. You can feel confident that your keyboard is packed snugly and securely if nothing moves inside of it when you shake your closed box.
PRO TIP
If you're dealing with a heavier piece of equipment, consider heavier packaging material like foam pads vs. lighter materials like packing peanuts.
Once everything is securely packed, place "Fragile" and "This Side Up" stickers onto the outside of your box. If you don't have any of these stickers handy, clearly mark your box with a thick marker.

If you have your own scale, weigh your box and print your prepaid shipping label right from Reverb. We give a little discount to our sellers on prepaid shipping labels, and if you ship with us, you have the option of purchasing Reverb Safe Shipping. If you don't want to go through Reverb, you can also take your package to your carrier of choice.
And that's it! As long as you follow these simple instructions, you can rest easy knowing that your keyboard is going to safely arrive at its new home.
And that's it! As long as you follow these simple instructions, you can rest easy knowing that your keyboard is going to safely arrive at its new home.
Learn More About Selling on Reverb

Shipping Corner
Shipping materials, discounted shipping labels, and safe shipping–plus tips from our team of musicians–all in one place.
How to Sell on Reverb
This step-by-step guide walks you through listing an instrument for sale, pricing it, and photographing it so that you get more money for your gear.
Reverb Shipping Labels
Don’t let trips to the post office eat up your day and your wallet: Become your own shipping center and print shipping labels right at home.
